Xilence Breeze X712 XG131 Review
Introduction
The Xilence Breeze combines the best of both worlds, with high compatibility, and a highly efficient airflow design. With its included ARGB and non-RGB case fans, the Breeze can set you up from the get-go without breaking your bank account. Let's take a closer look!
Positive
- Incredible Price-to-Performance
- 4x Fans included
- RGB Controllable
- CPU Cooler compatibility
Neutral
- RGB
Negative
- Fans are spinning at 100% due to SATA Power
What's in the Box?

Xilence's Breeze case comes inside the usual brown carton box containing the case itself wrapped in a sheet of plastic foil and secured using two blocks of styrofoam. Once everything is unwrapped and unboxed, we will find the case itself with a little bag inside containing a couple of zip ties and the usual motherboard/PSU screws.
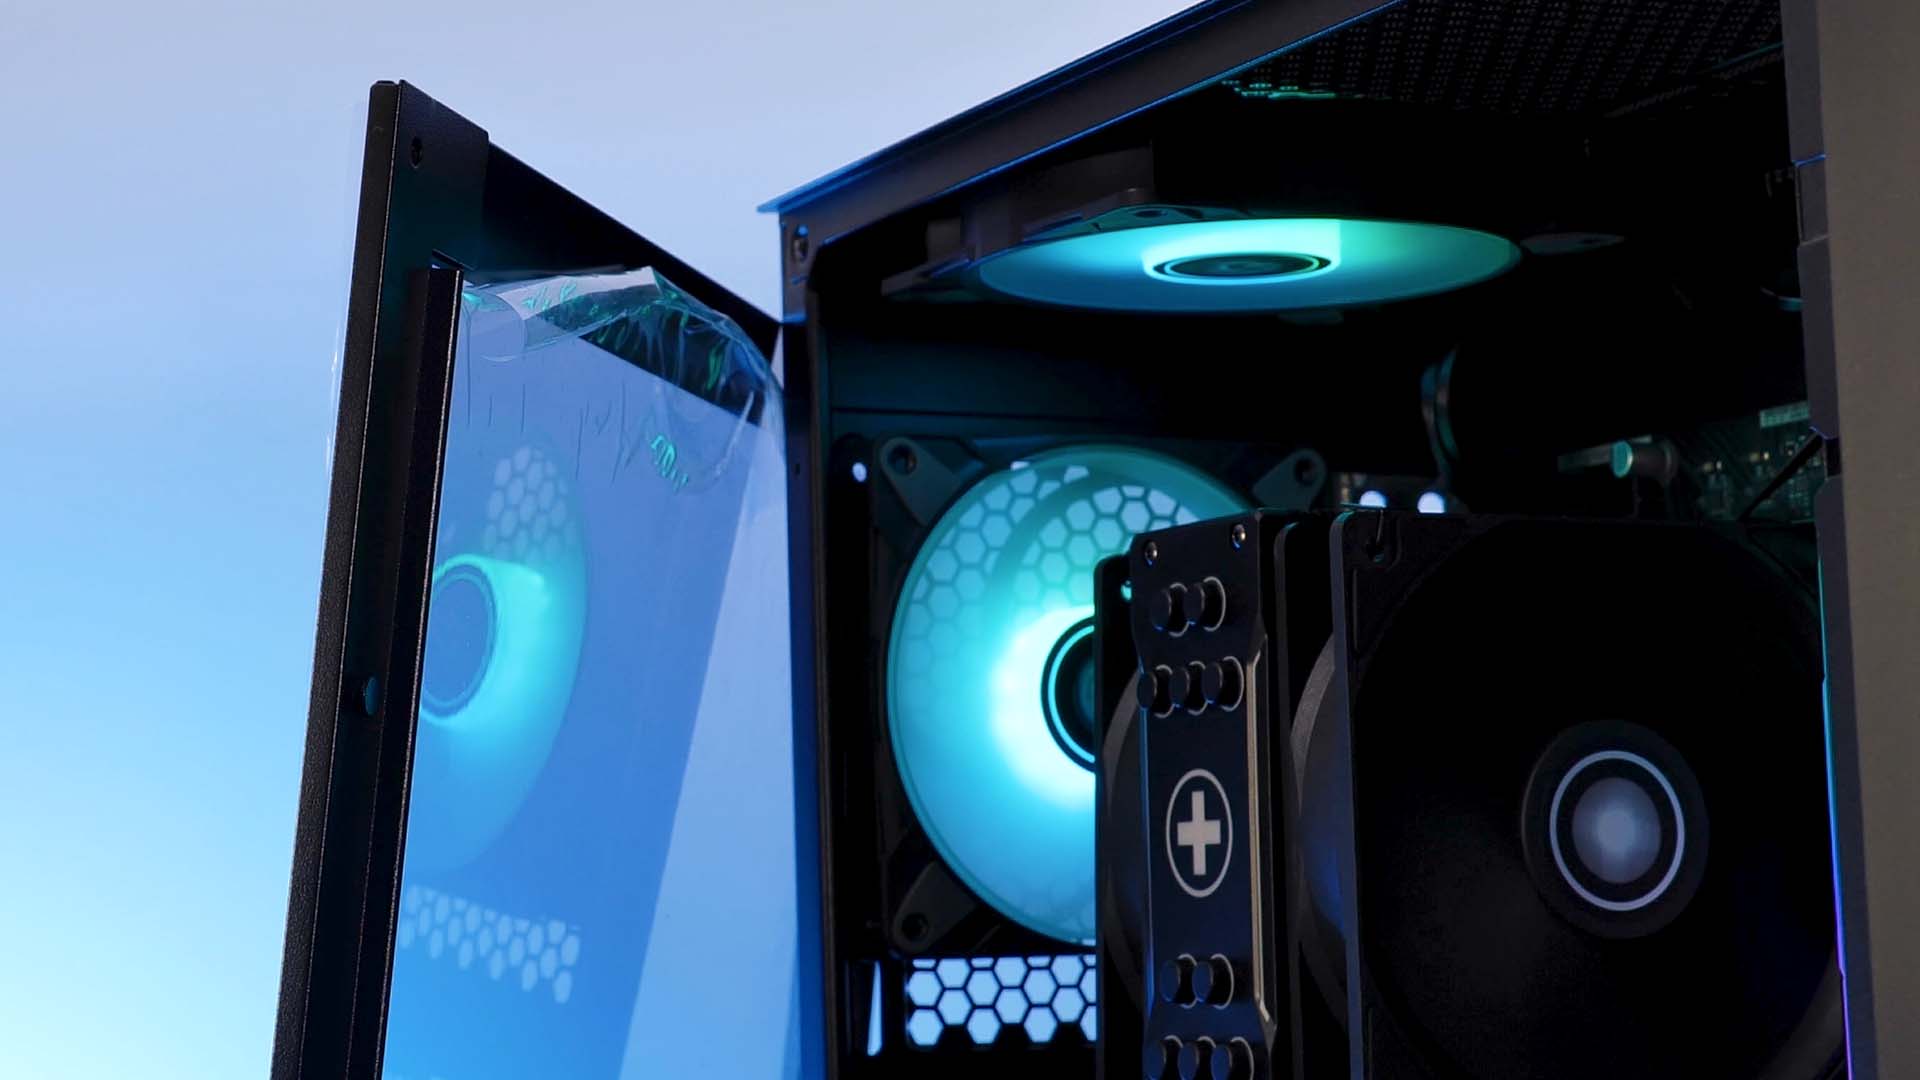
The left side of the case is covered in a (surprisingly thick) tempered glass side panel. In order to remove it and gain access to the interior, we need to remove both screws keeping it in place in the back of the case and pull it slightly to the back before lifting it away.
Specs
Keeping in mind that the Breeze is a budget-friendly case, it offers surprisingly high compatibility and build-quality. Down below you will find a summary of its spec sheet:
| Name | Xilence Breeze X712 XG131 |
| Color | Black |
| Type | Mid-Tower |
| Mainboard Size | ATX - microATX - miniITX |
| PSU Size | Up to 200mm, or 250mm+ if HDD cage removed |
| PSU Position | Separate compartment in the bottom |
| Side Panel | 5mm Tempered Glass |
| Front Panel | Mesh- Structure with Diamond design |
| CPU Cooler Height | Up to 165m |
| GPU Length | Up to 350mm (Frontal Radiator not included) |
| 3.5" Drives | 2x in HDD Cage (shared with SSDs) |
| 2.5" Drives |
2x behind Motherboard 2x in HDD Cage (shared with HDDs) |
| IO |
2x USB 3.0 Audio in/out Start/Reset Button RGB Button |
| Dimensions | 430x220x495 |
| Fan Spots |
3x 120/140 - 2x 200 in Front 2x 120/140 in Top 1x 120 in Back 2x 120 on PSU shroud |
| Watercooling |
360/280 in Front 280/240 in Top 120 in Back |
| Extras |
ARGB Controller included 3x 120mm ARGB Fan pre-installed in Front 1x 120mm regular Fan installed in Back |
Compatibility
Mainboard
As the Breeze was designed for the price-conscious mid-to-low tier market, the Motherboard compatibility fits in accordingly. With ATX, mATX, and miniITX support, every sensible motherboard will fit in.
PSU
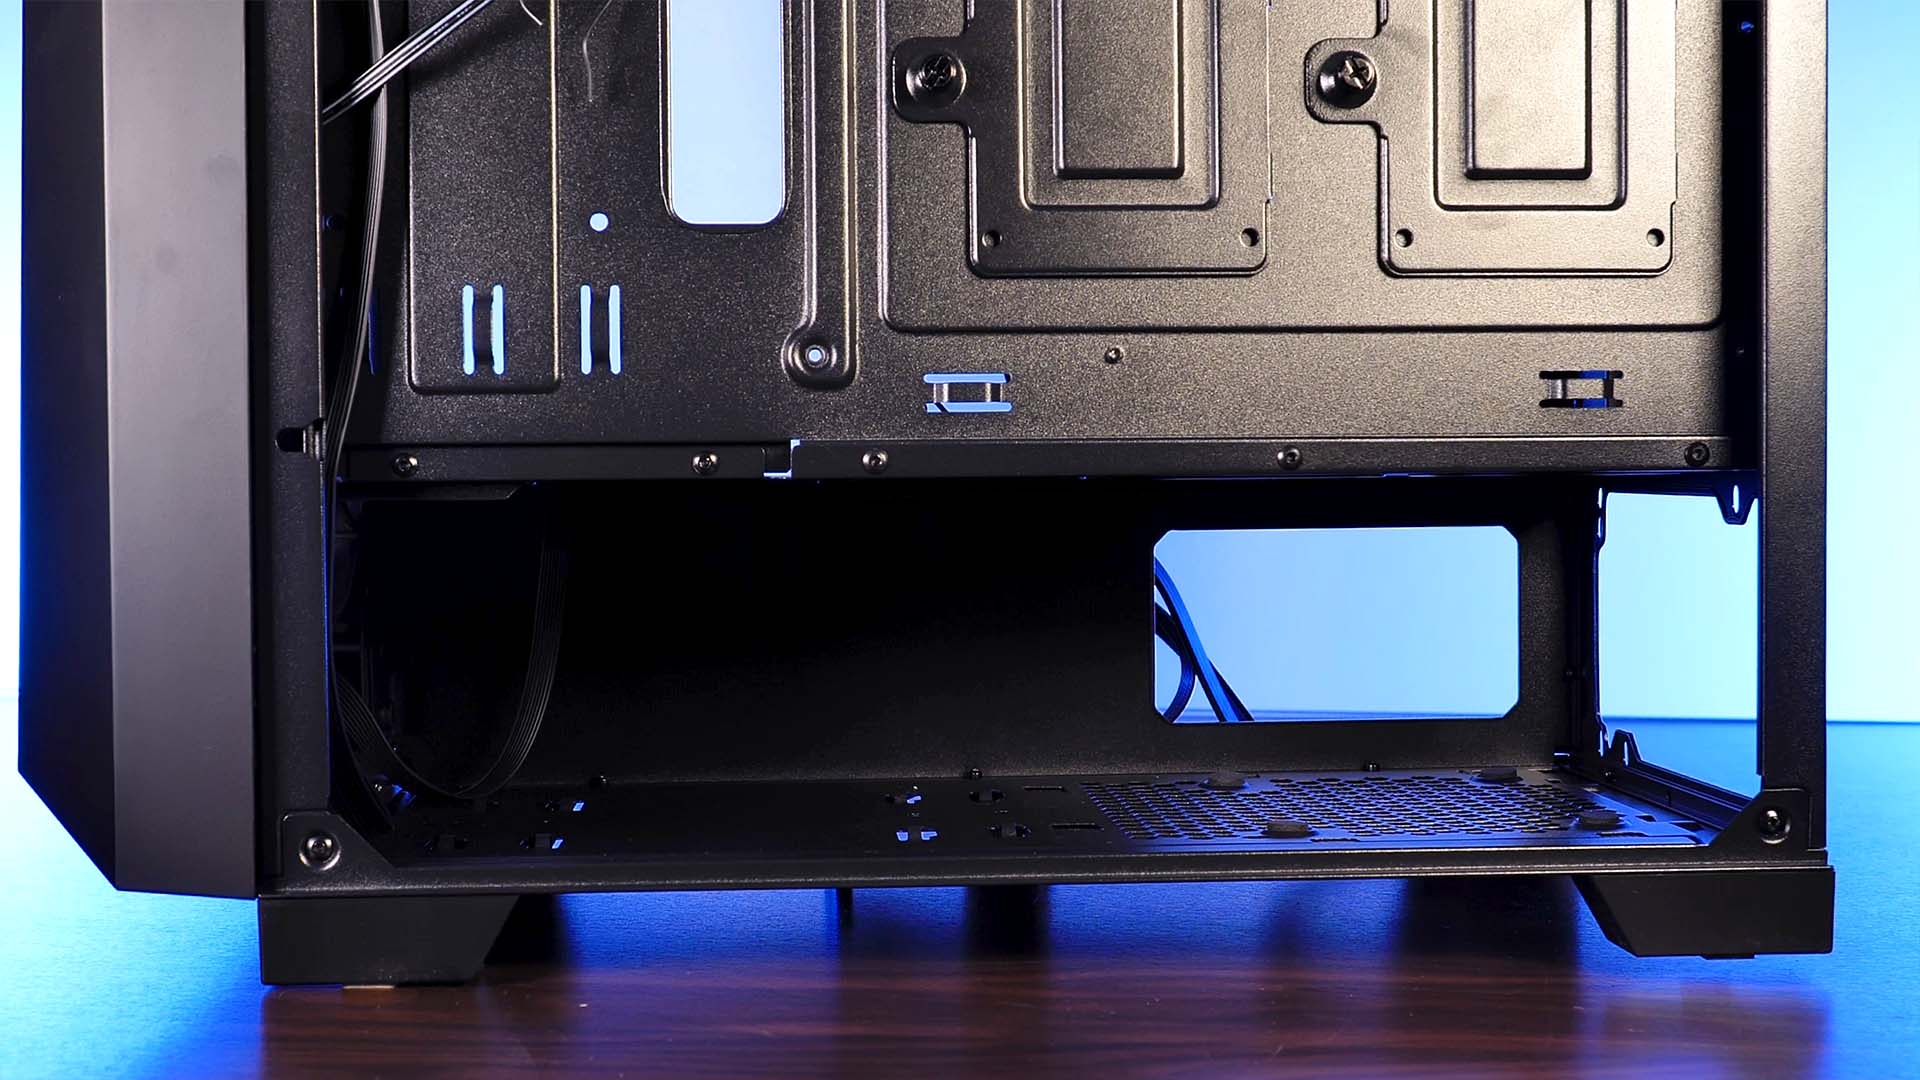
The PSU inside the Breeze is located inside its own little compartment at the bottom of the case. To access it, we need to remove the back panel. Out of the box, we can fit an up to 200mm long PSU inside the space, however, if we remove the HDD cage behind it, we can extend this limit to the case itself.
GPU
Although the case might not be designed to house the top-of-the-line GPUs, it can. With up to 350mm long cards, there are few cards in existence that would not fit into here. However, do keep in mind that the 350mm limit is calculated without any radiators in mind. If you would decide to install a water cooler in the front of the case, the GPU limit would be reduced by the thickness of the rad.
CPU Cooler

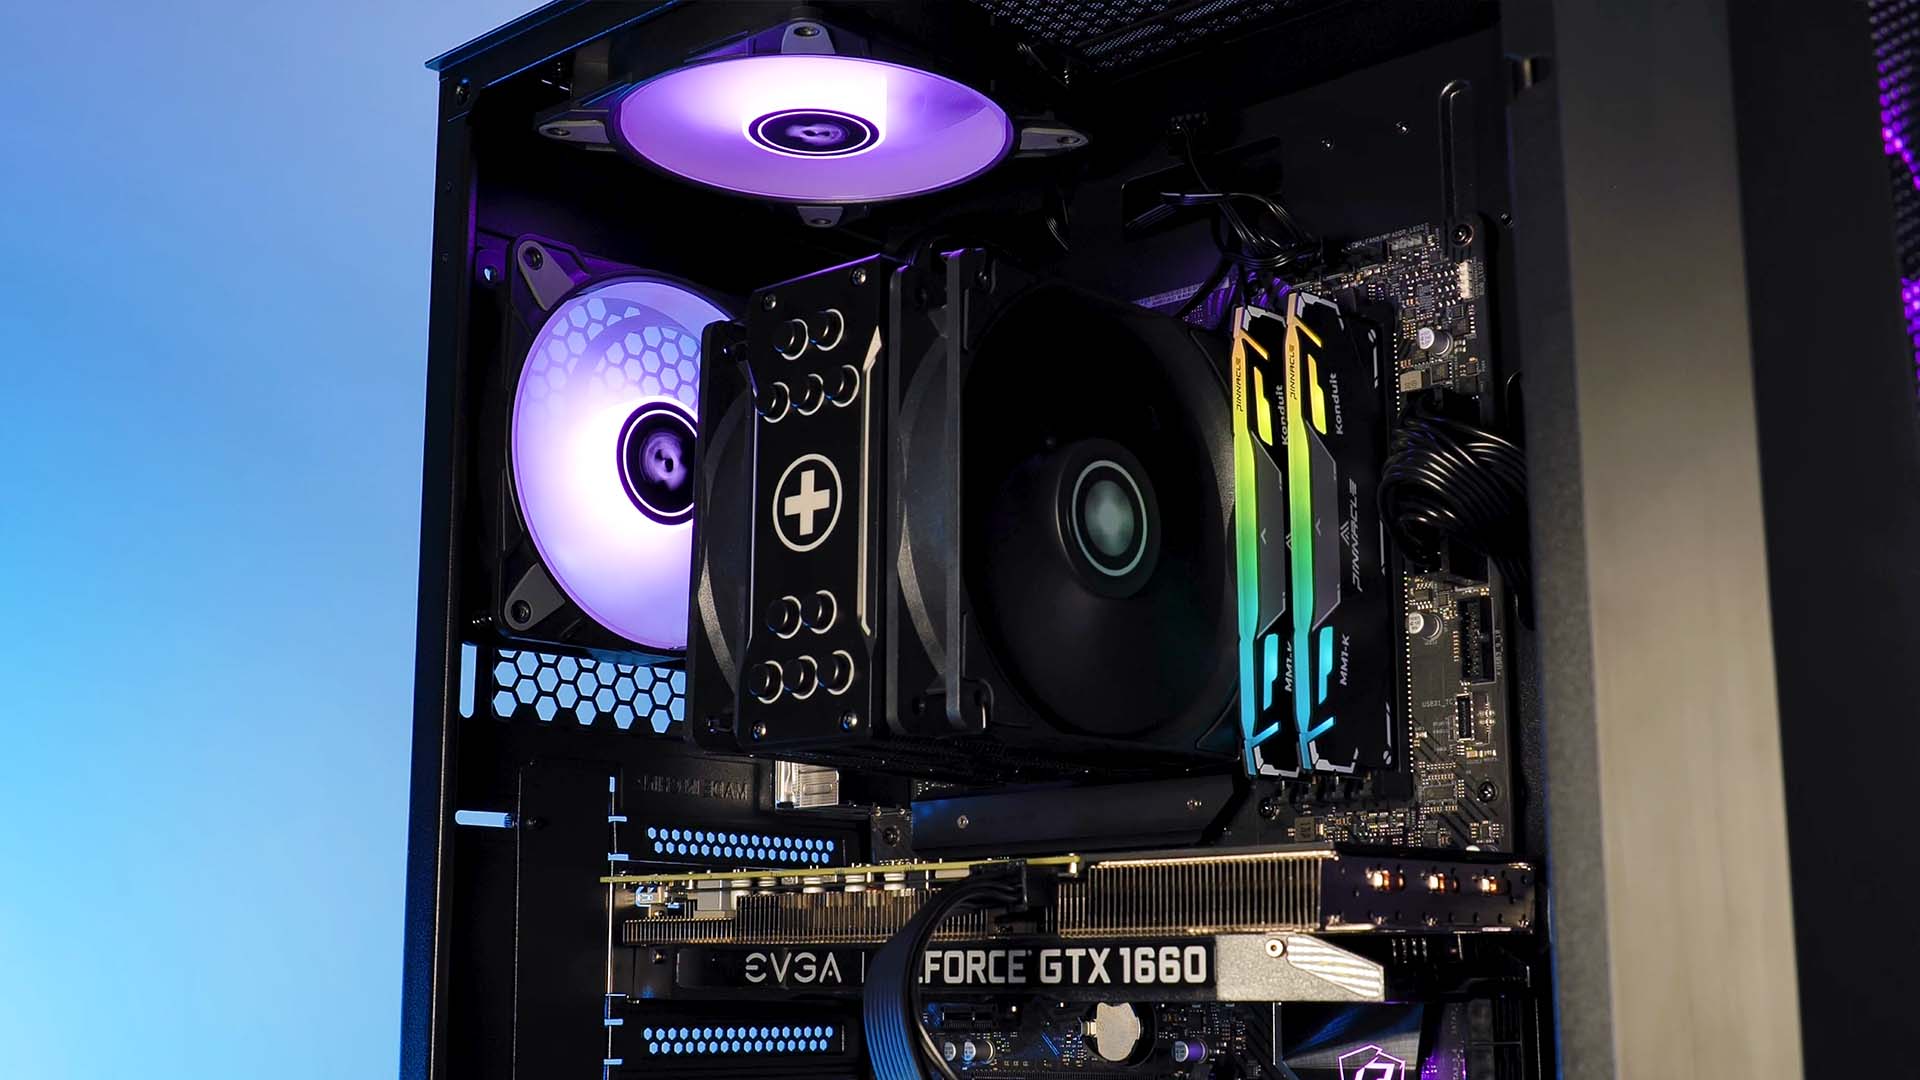
For maximal CPU Cooler height, the breeze can support some surprisingly huge coolers. With up to 165mm cooler support, even bigger chunks such as the be quiet! Dark Rock Pro 4 will fit into it!
Fans

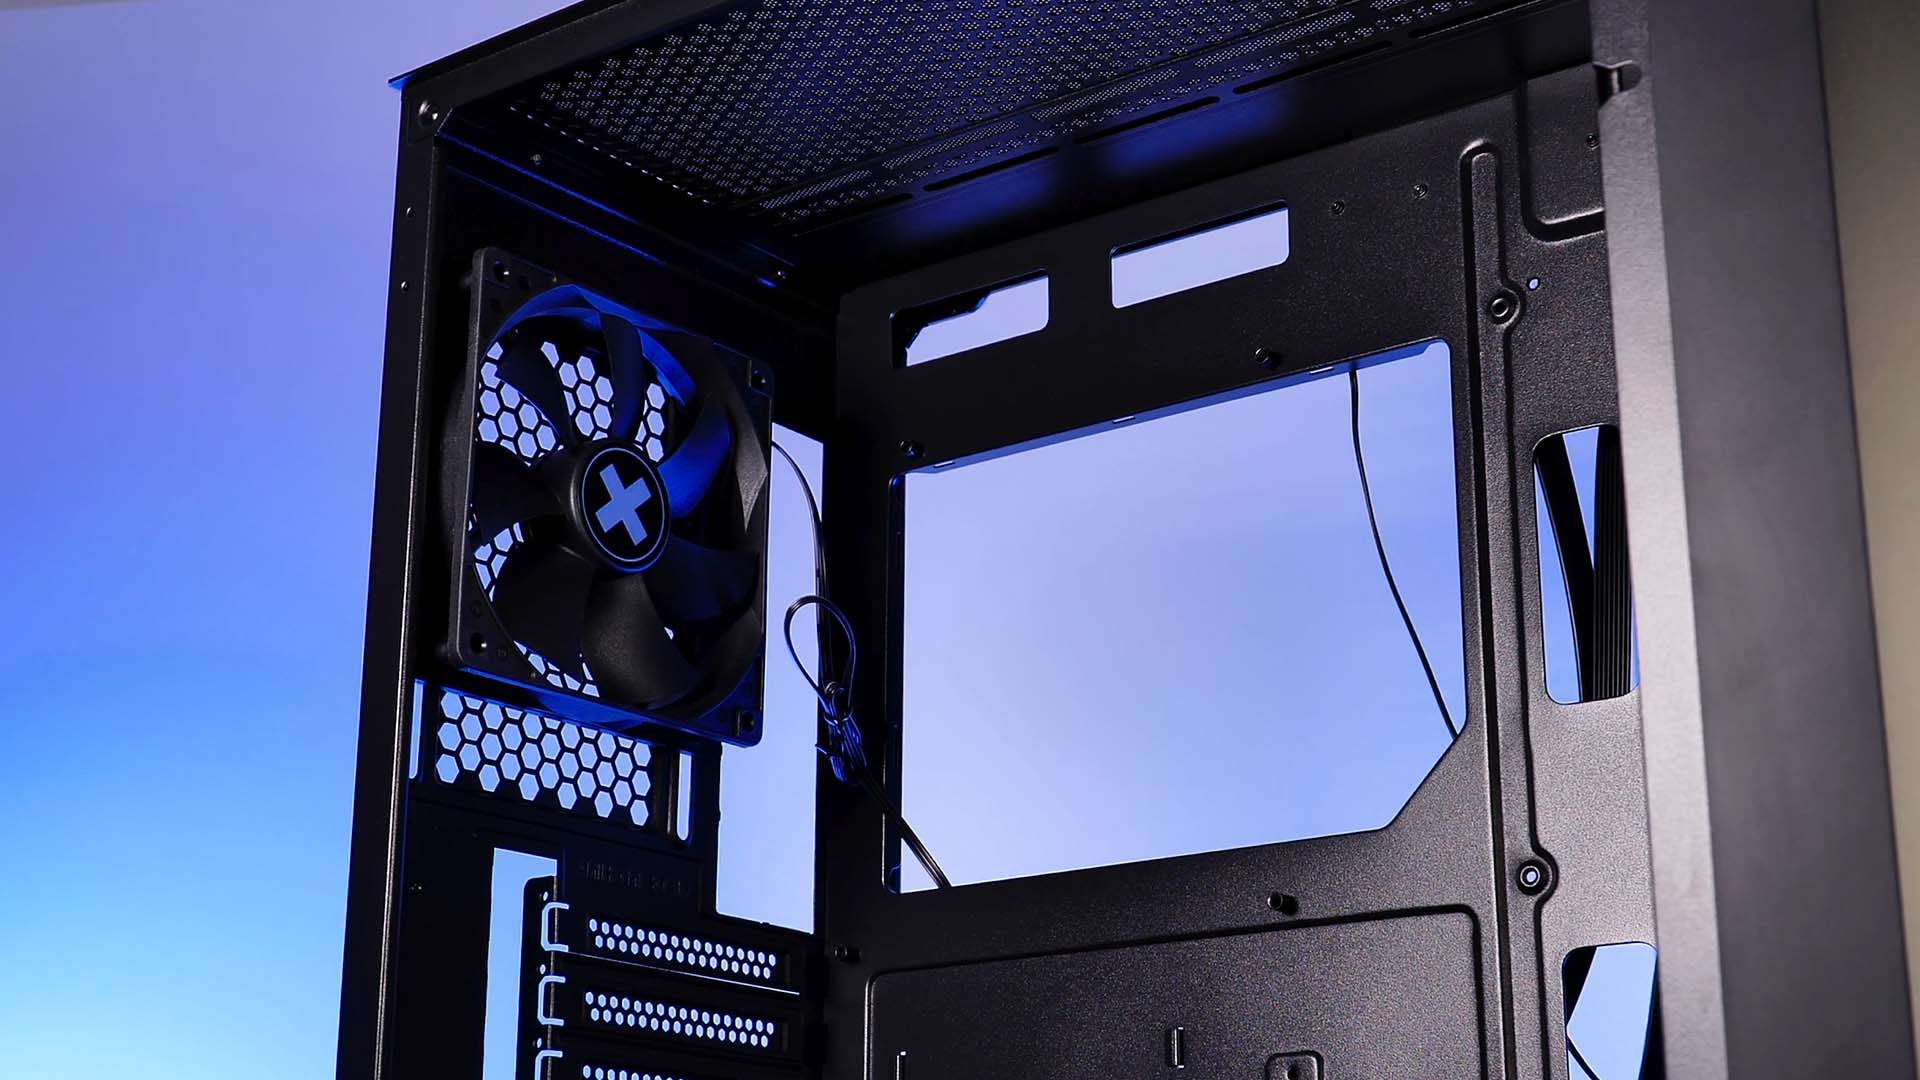
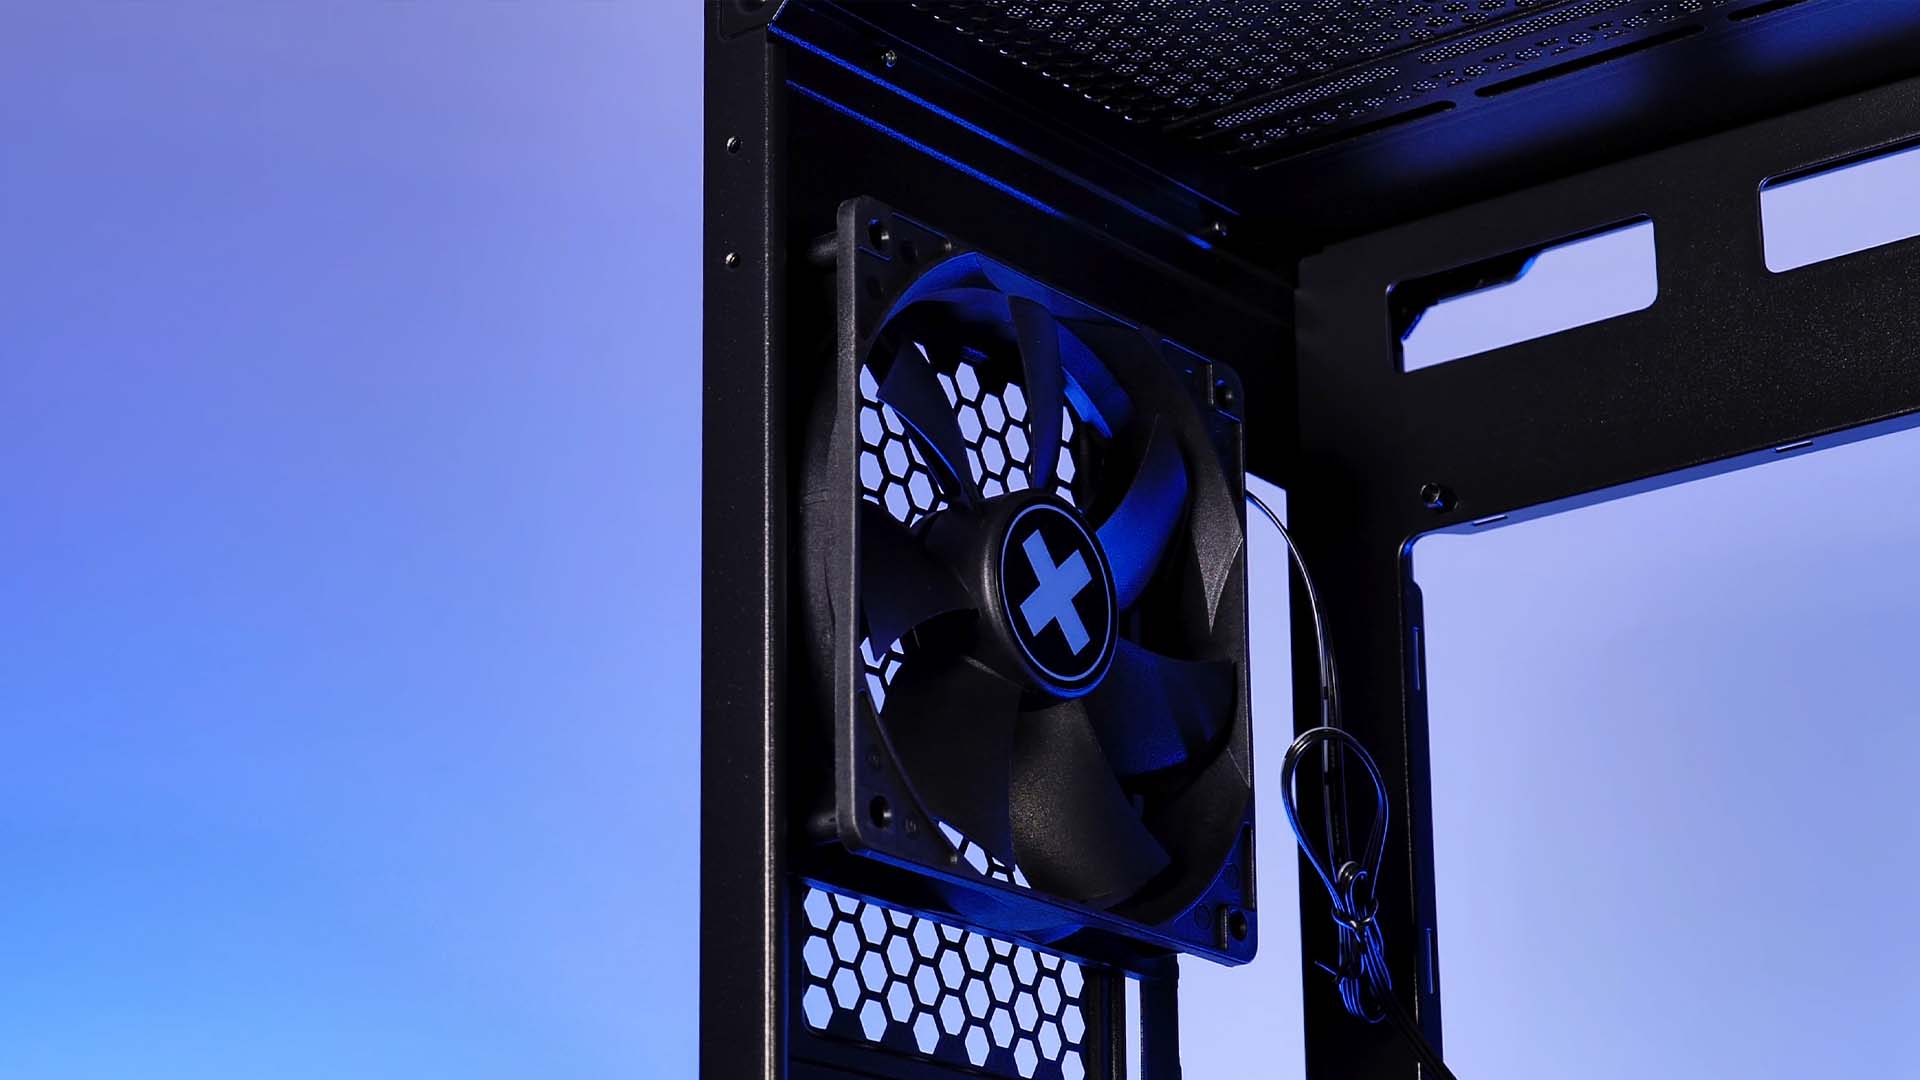
In terms of case cooling, the Front of the case can be used to mount up to 3x 120 or 140mm fans. Additionally, even 2x 200mm fans could be used here. The top of the case comes with dual 120 or 140mm support while the back can house another 120mm fan.
As a little special, there are 2 additional fan spots on top of the PSU shroud which can actively pull some air from behind the PSU as the dust filter in the bottom is slightly bigger than the usual PSU.
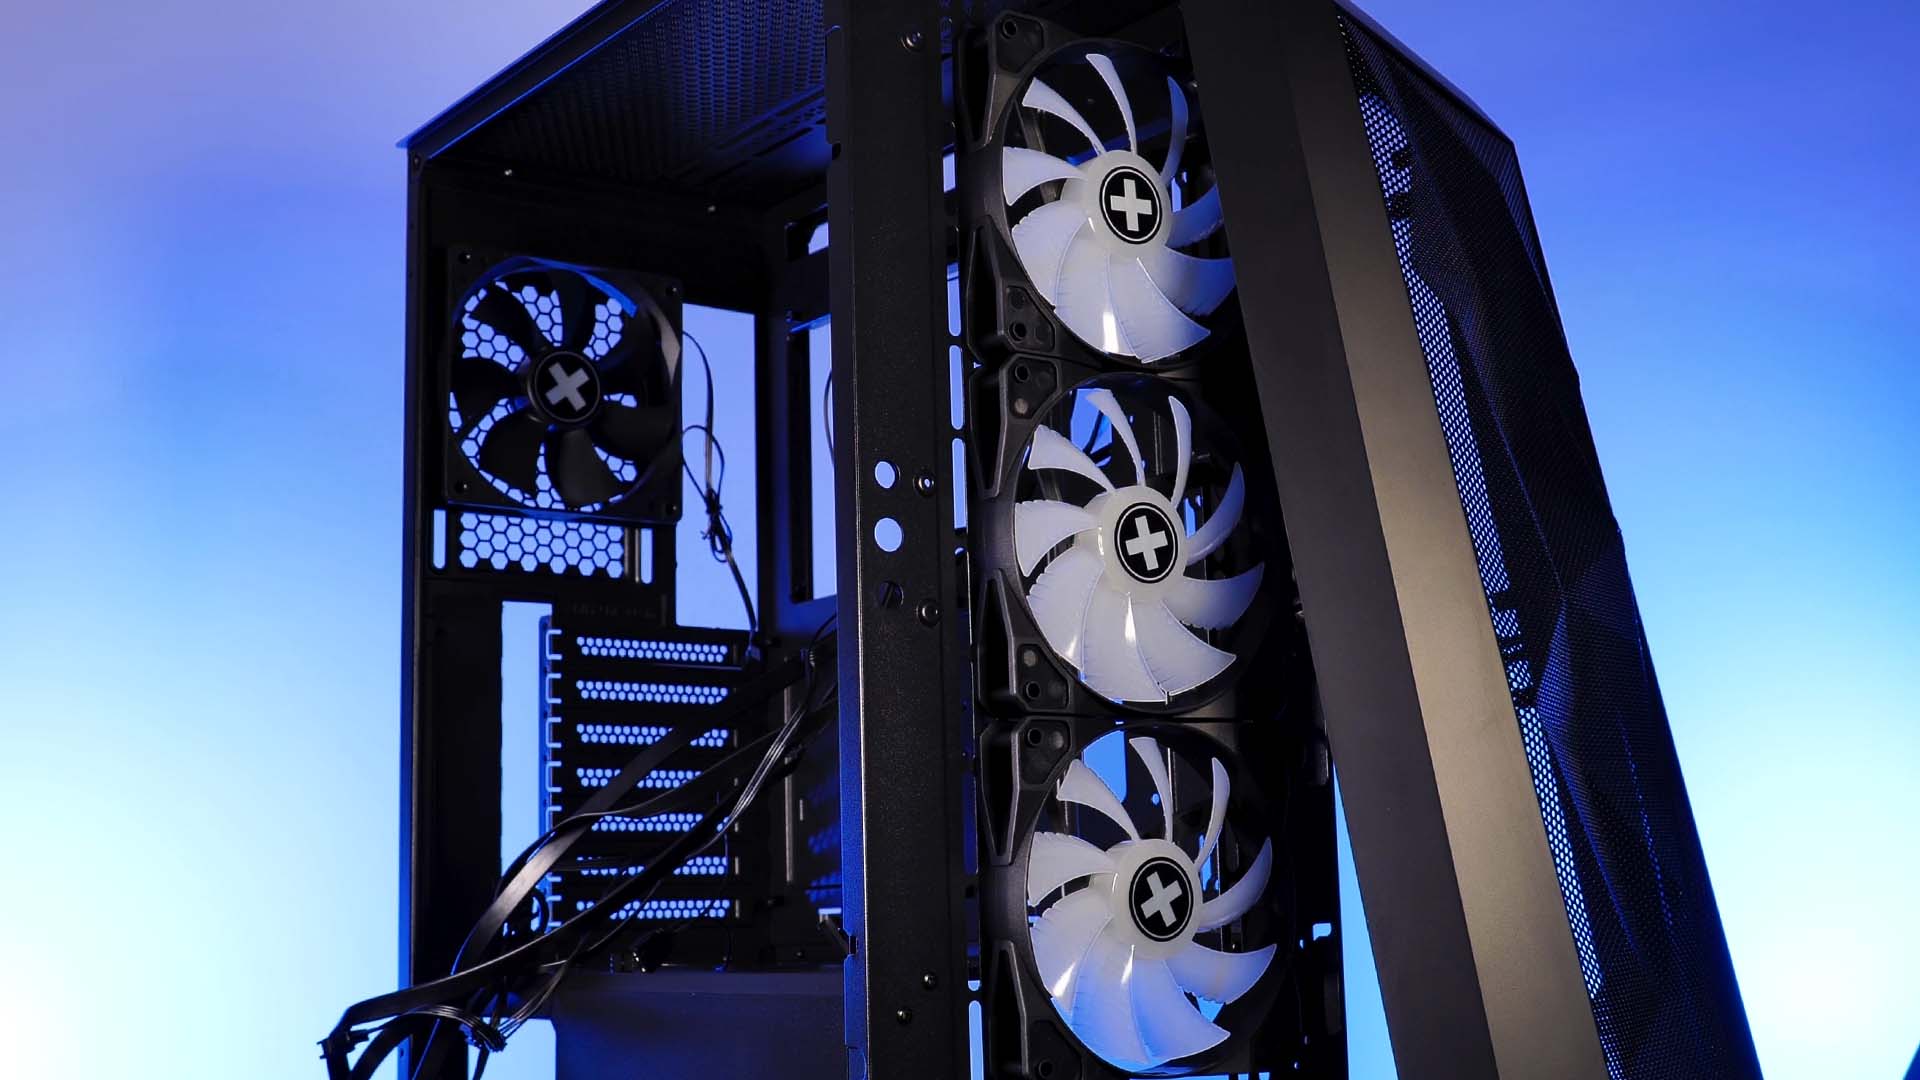
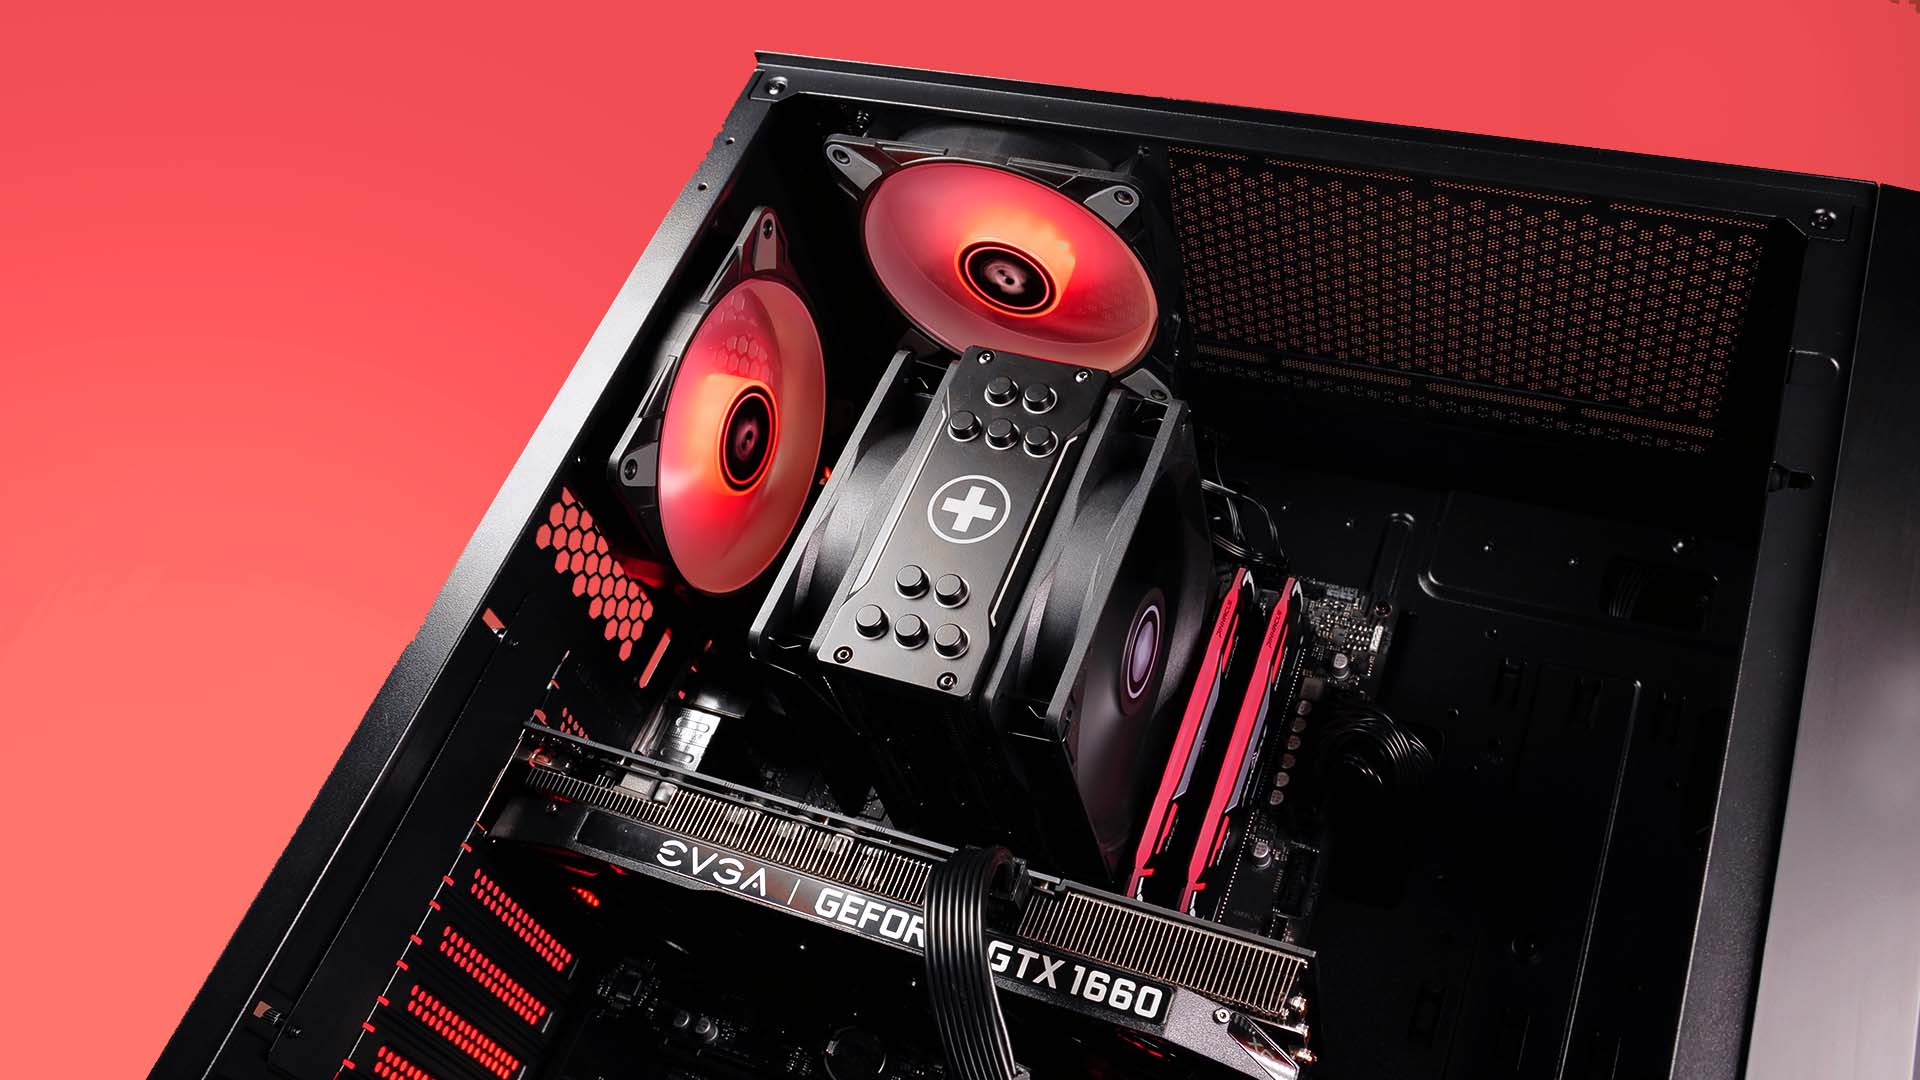
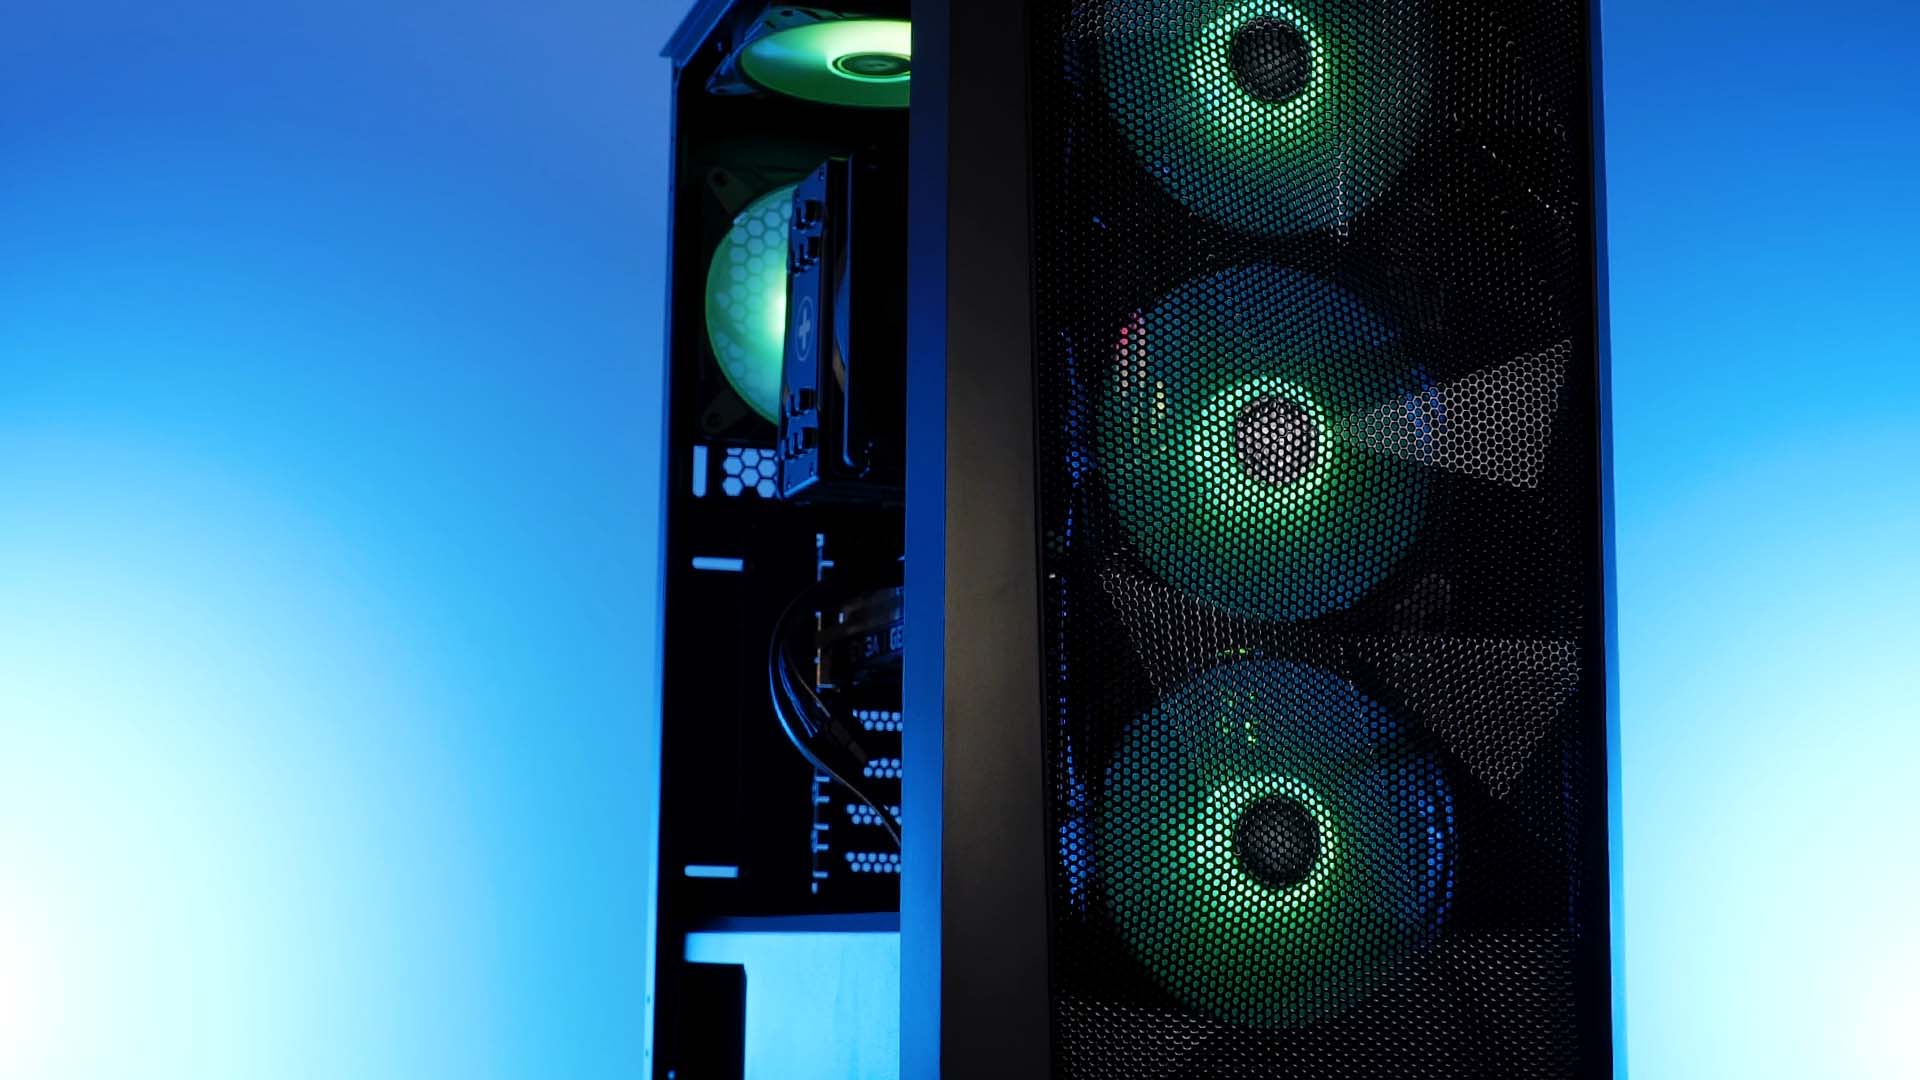
Pre-installed out of the box, the Breezer offers 3x Xilence ARGB Fans in the front and one non-RGB fan in the back.
Although this offers budget-builders the perfect opportunity to save some money and get them started without any additional purchases, we would have liked the fans to be PWM controllable. As of now, the three front fans are daisy-chained together using a proprietary cable and connector. This "special" type of connector is then being translated into SATA power. This makes all three fans spin at 100% of their max speed all the time. Considering the low noise level that these fans blow at, this is not the biggest problem, but certainly, the most important upgrade path to take in the future.
Watercooling
Similarly to the fan support, you can mount the same amount and size of radiators inside the Breeze. While the Front allows for up to 360/280mm radiators, the top can support 240/280mm and a 120mm in the back.
Cable Management
As the main focus of the Breeze is to bring the best value for the price, cable management is one of the aspects that needed to suffer.
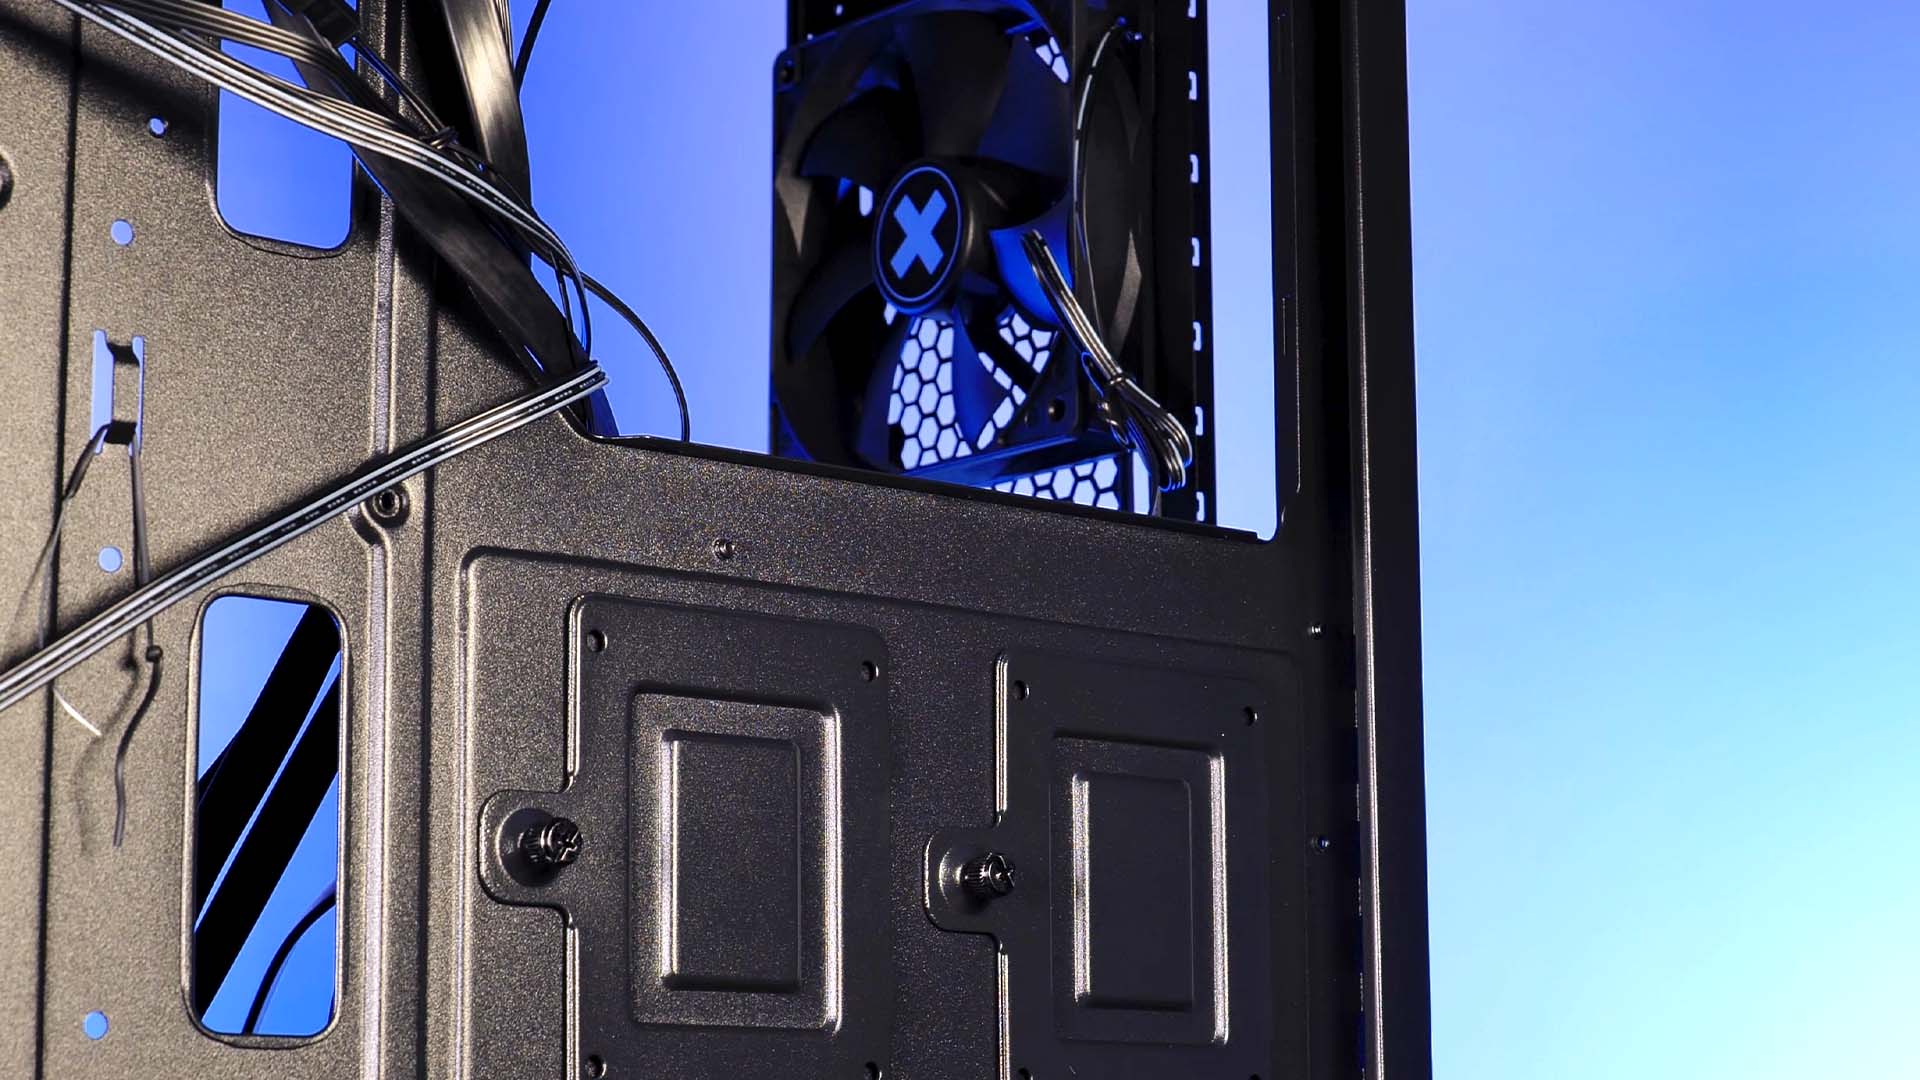
Although there are more than enough cable holes spread across the motherboard area, don't expect there to be any rubberized edges or sophisticated cable hiding techniques. Behind the case, we found there to be enough space to cram in the usual cable mess accompanied by a couple of zip tie slots.
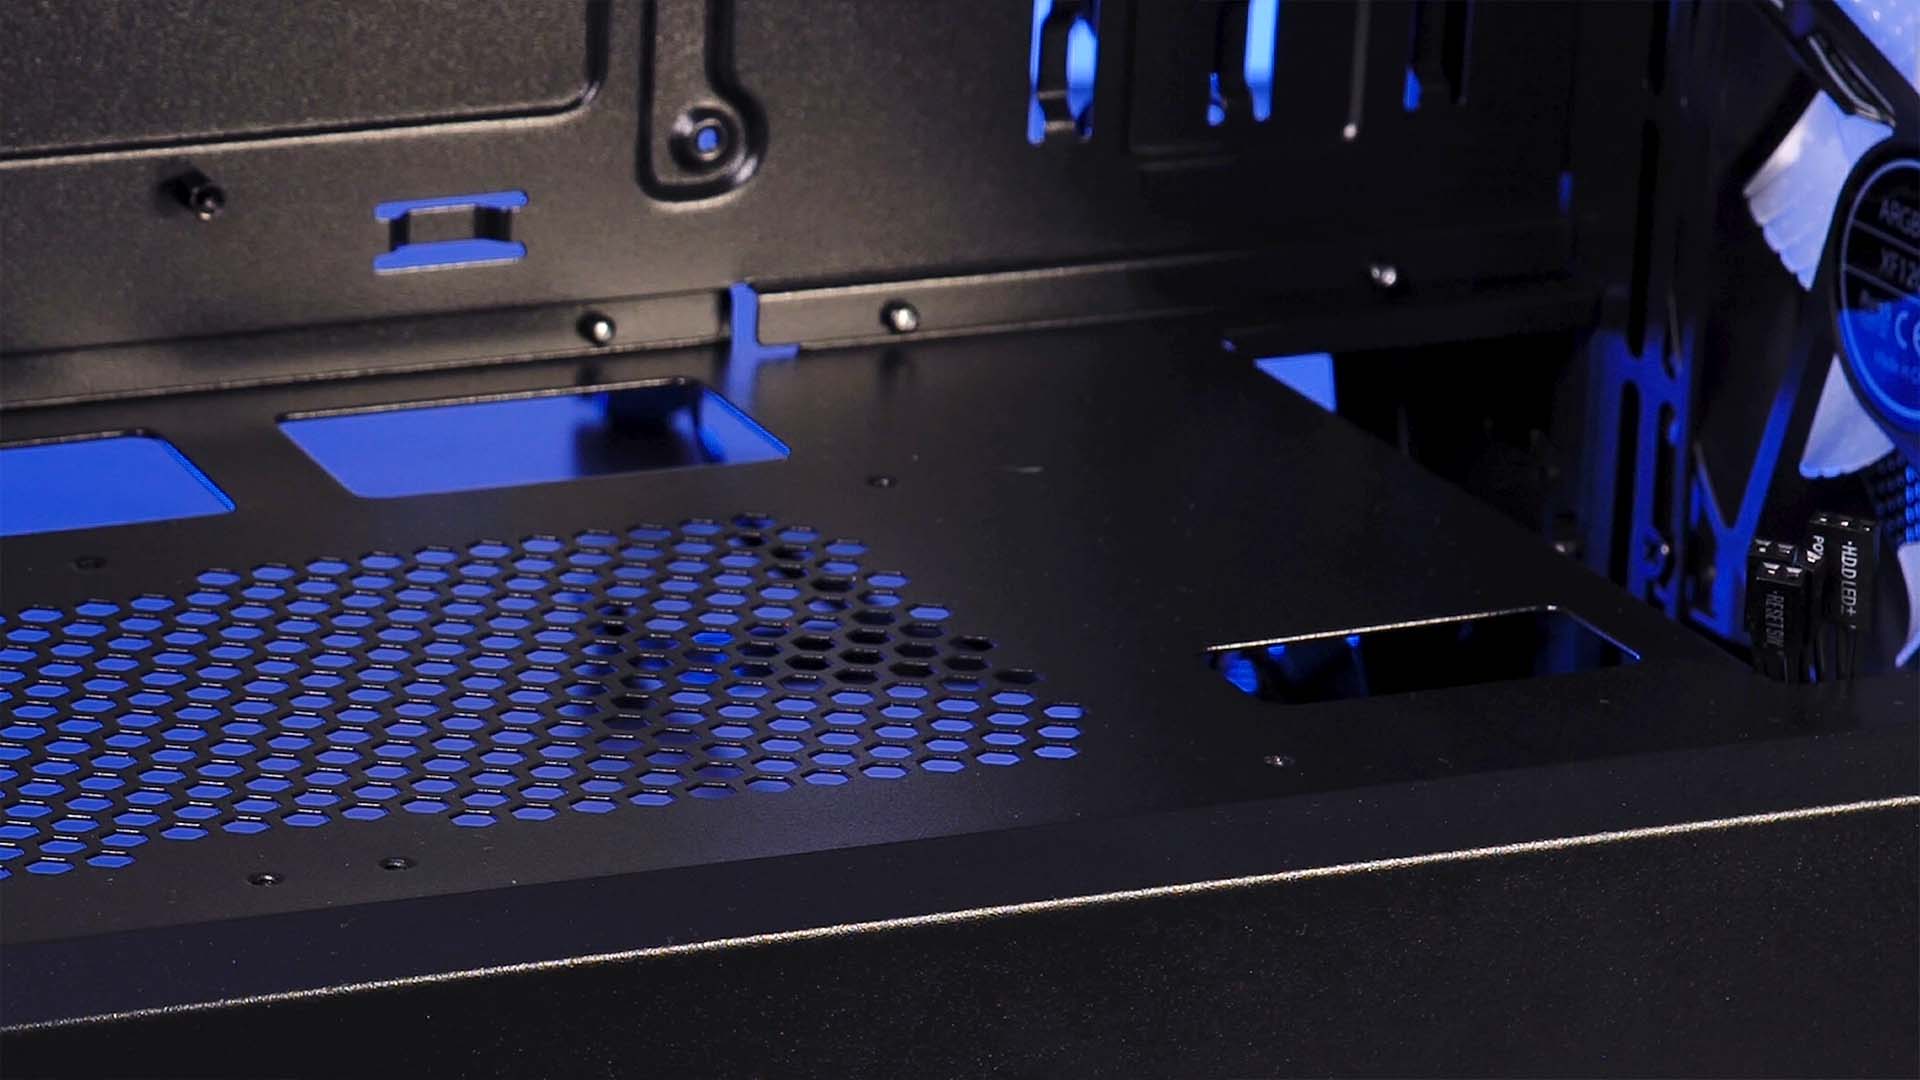
One aspect that we particularly liked about the cable management is the additional hole on the very edge of the Power Supply tunnel. This can be used to neatly route the GPU power cable without it having to travel through half the case.
IO
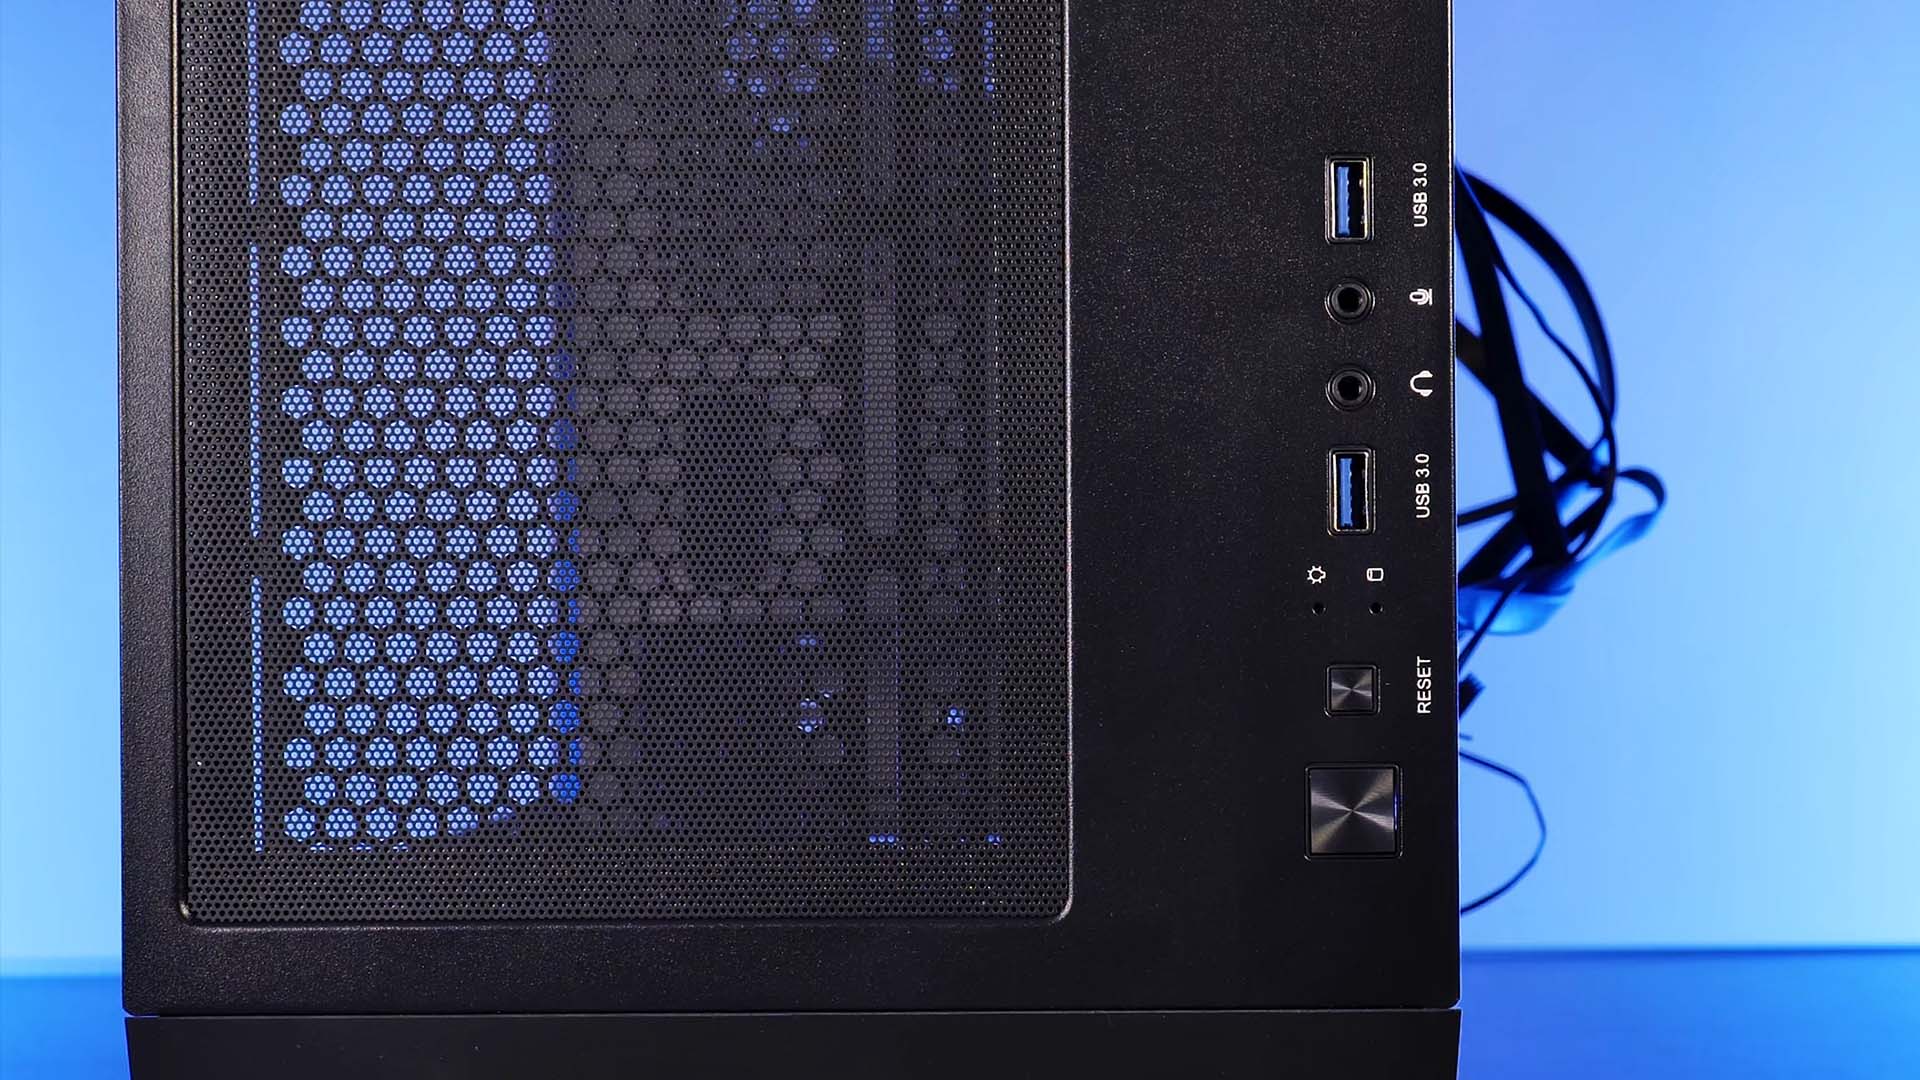
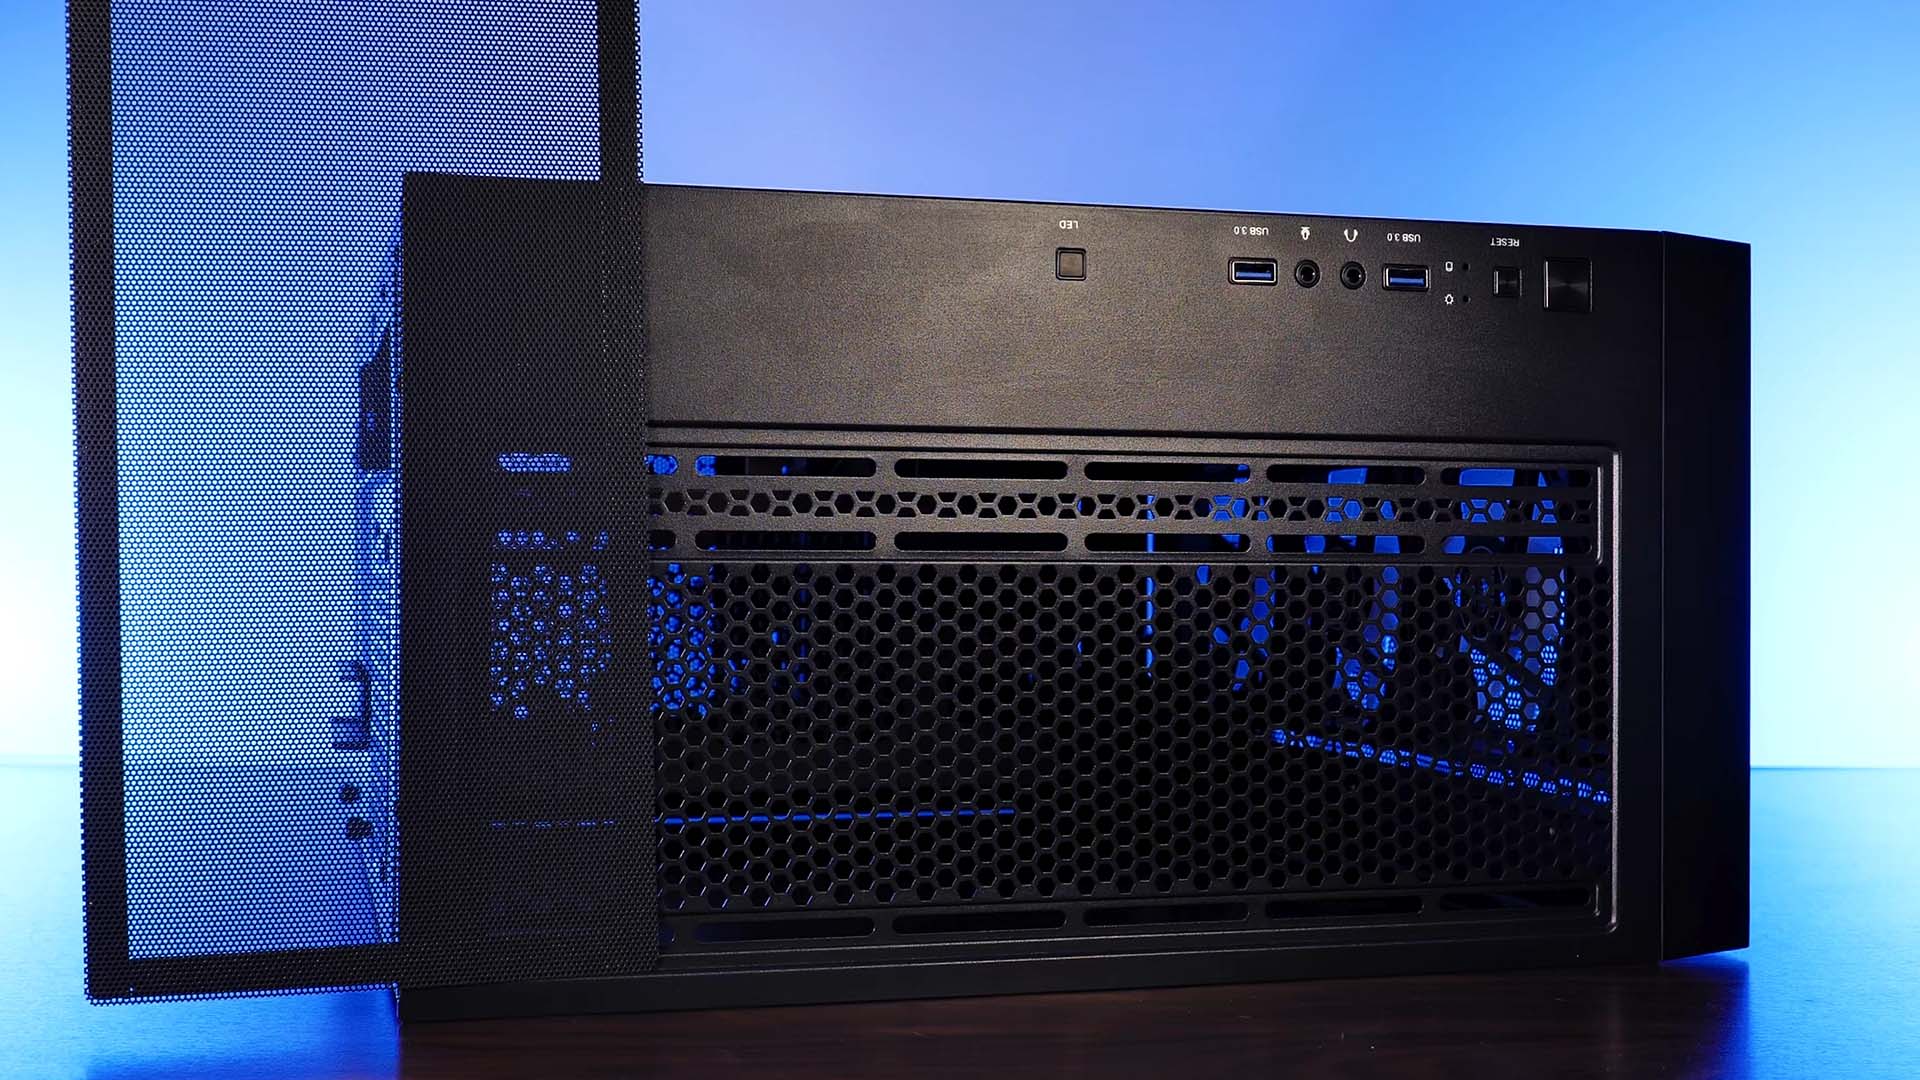
The IO layout on top of the Breeze was designed exactly as expected for a case in this price category.
With 2 USB 3.0's Type A and the usual case buttons and microphone jacks, it delivered exactly what we expected.
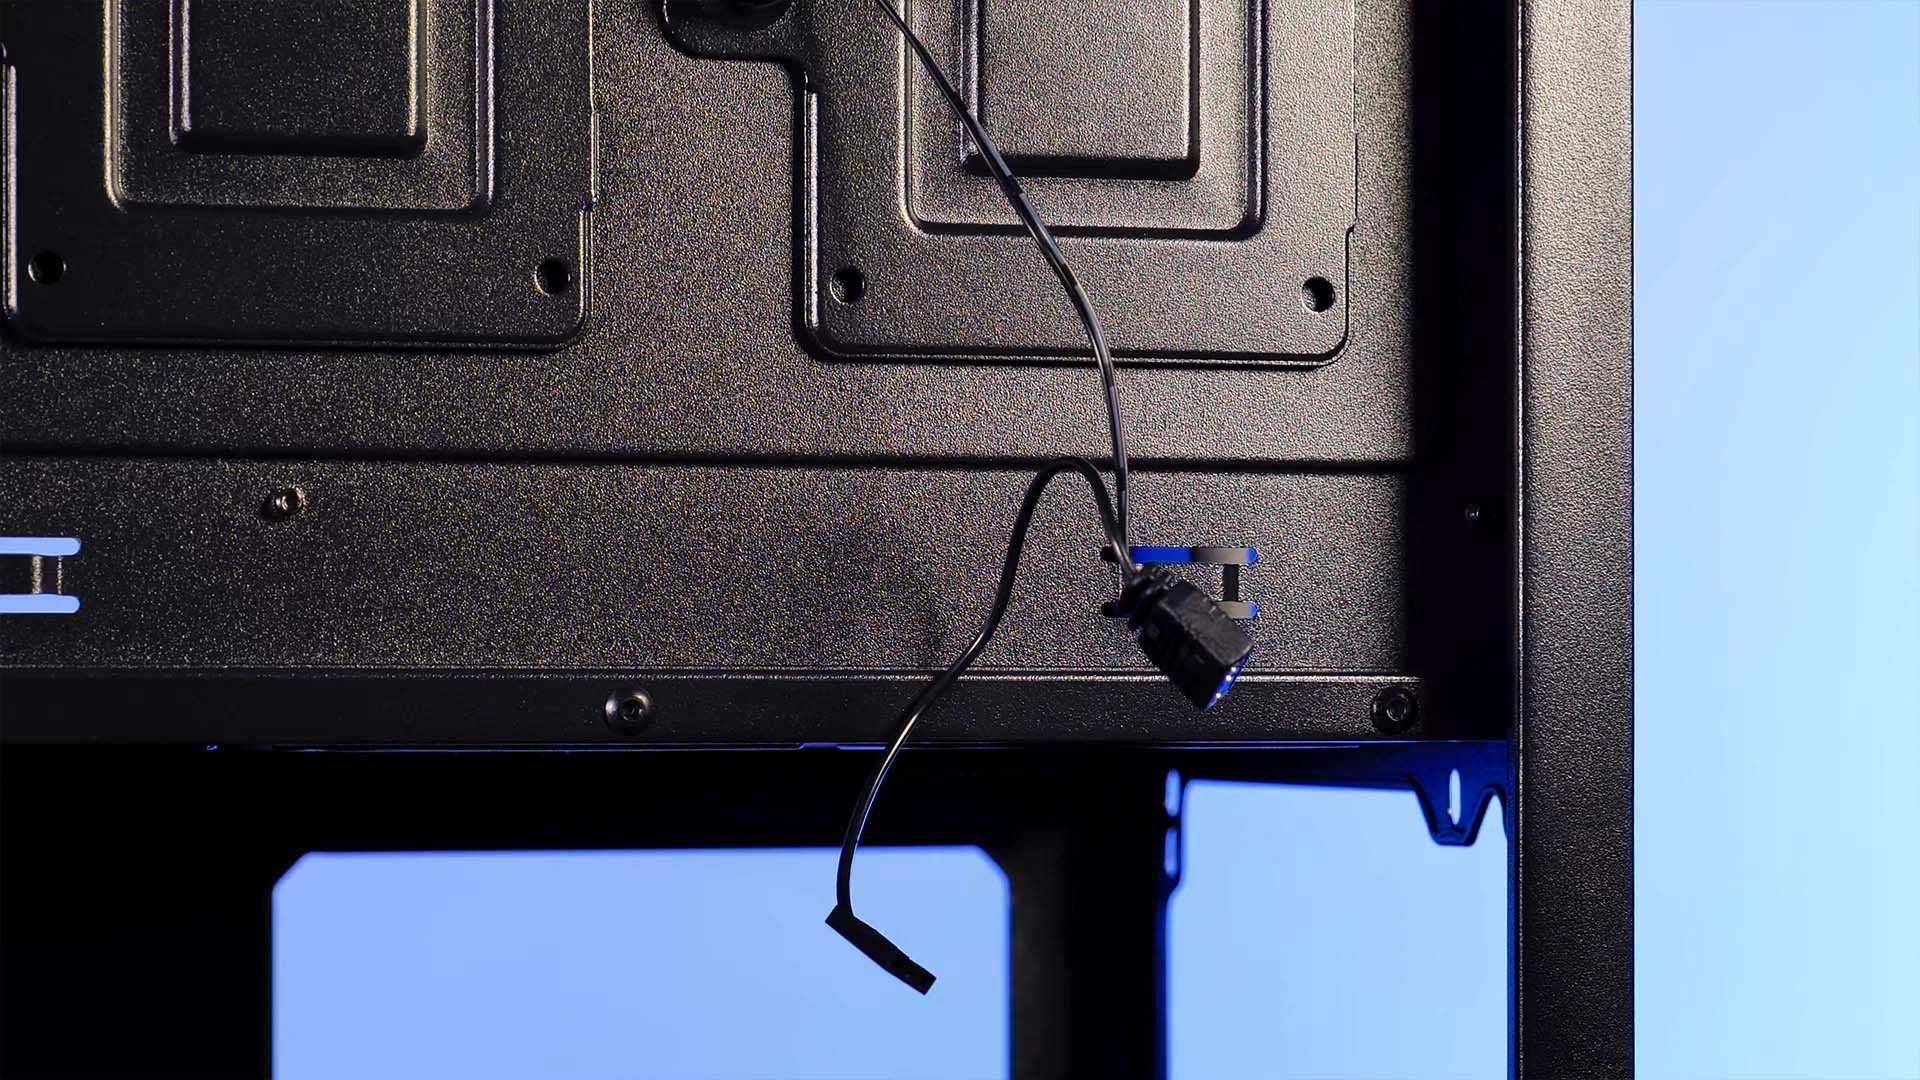
Additionally to the usual layout, there is an RGB button behind the actual IO panel. By using this we can switch RGB color or mode of the three front fans. As Xilence did not want to force us to use their pre-programmed modes, we can also use the passthrough mode activated by pressing the LED button for an extended period and by using the 3-pin ARGB header that comes out inside of the case and connecting it to our motherboard.
Cooling
One of the most important of any case is the potential cooling performance. For the most part, this is heavily reliant on the front panel, something that budget-oriented cases tend to fail at.
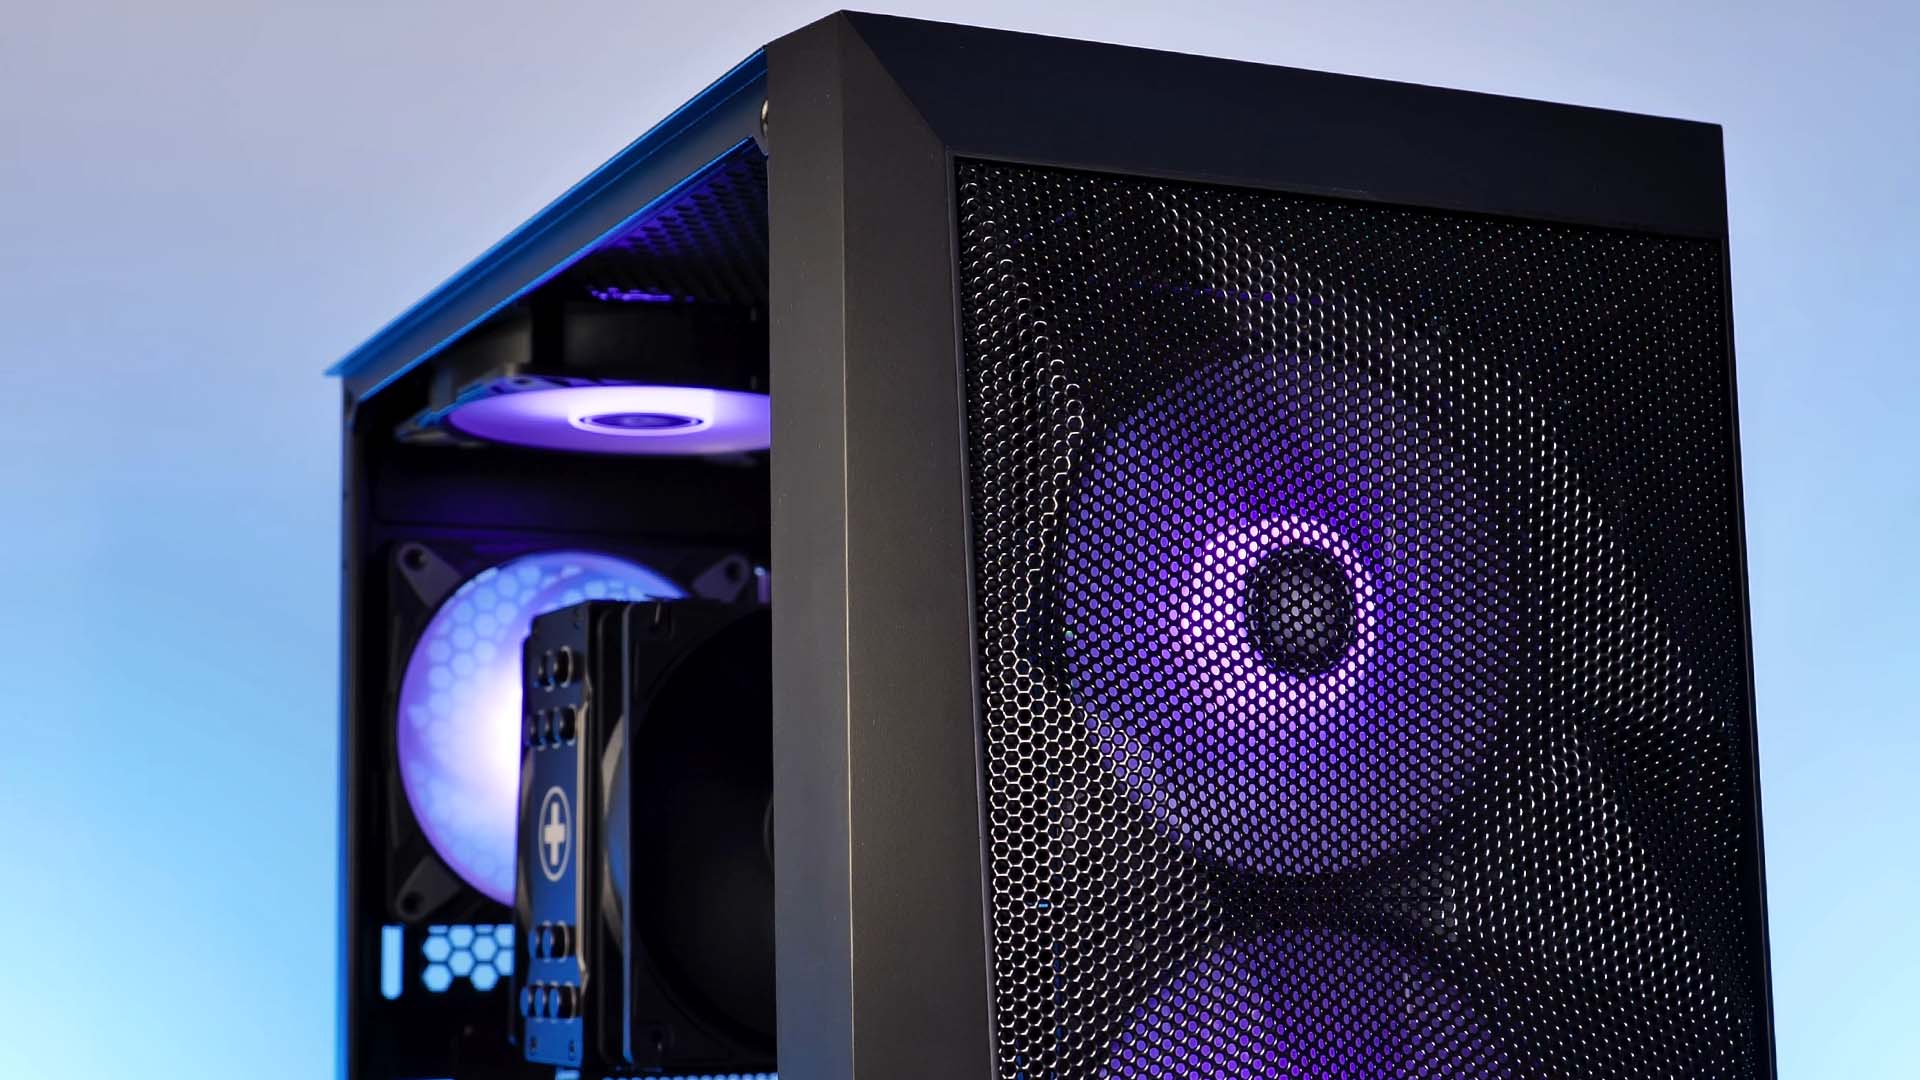
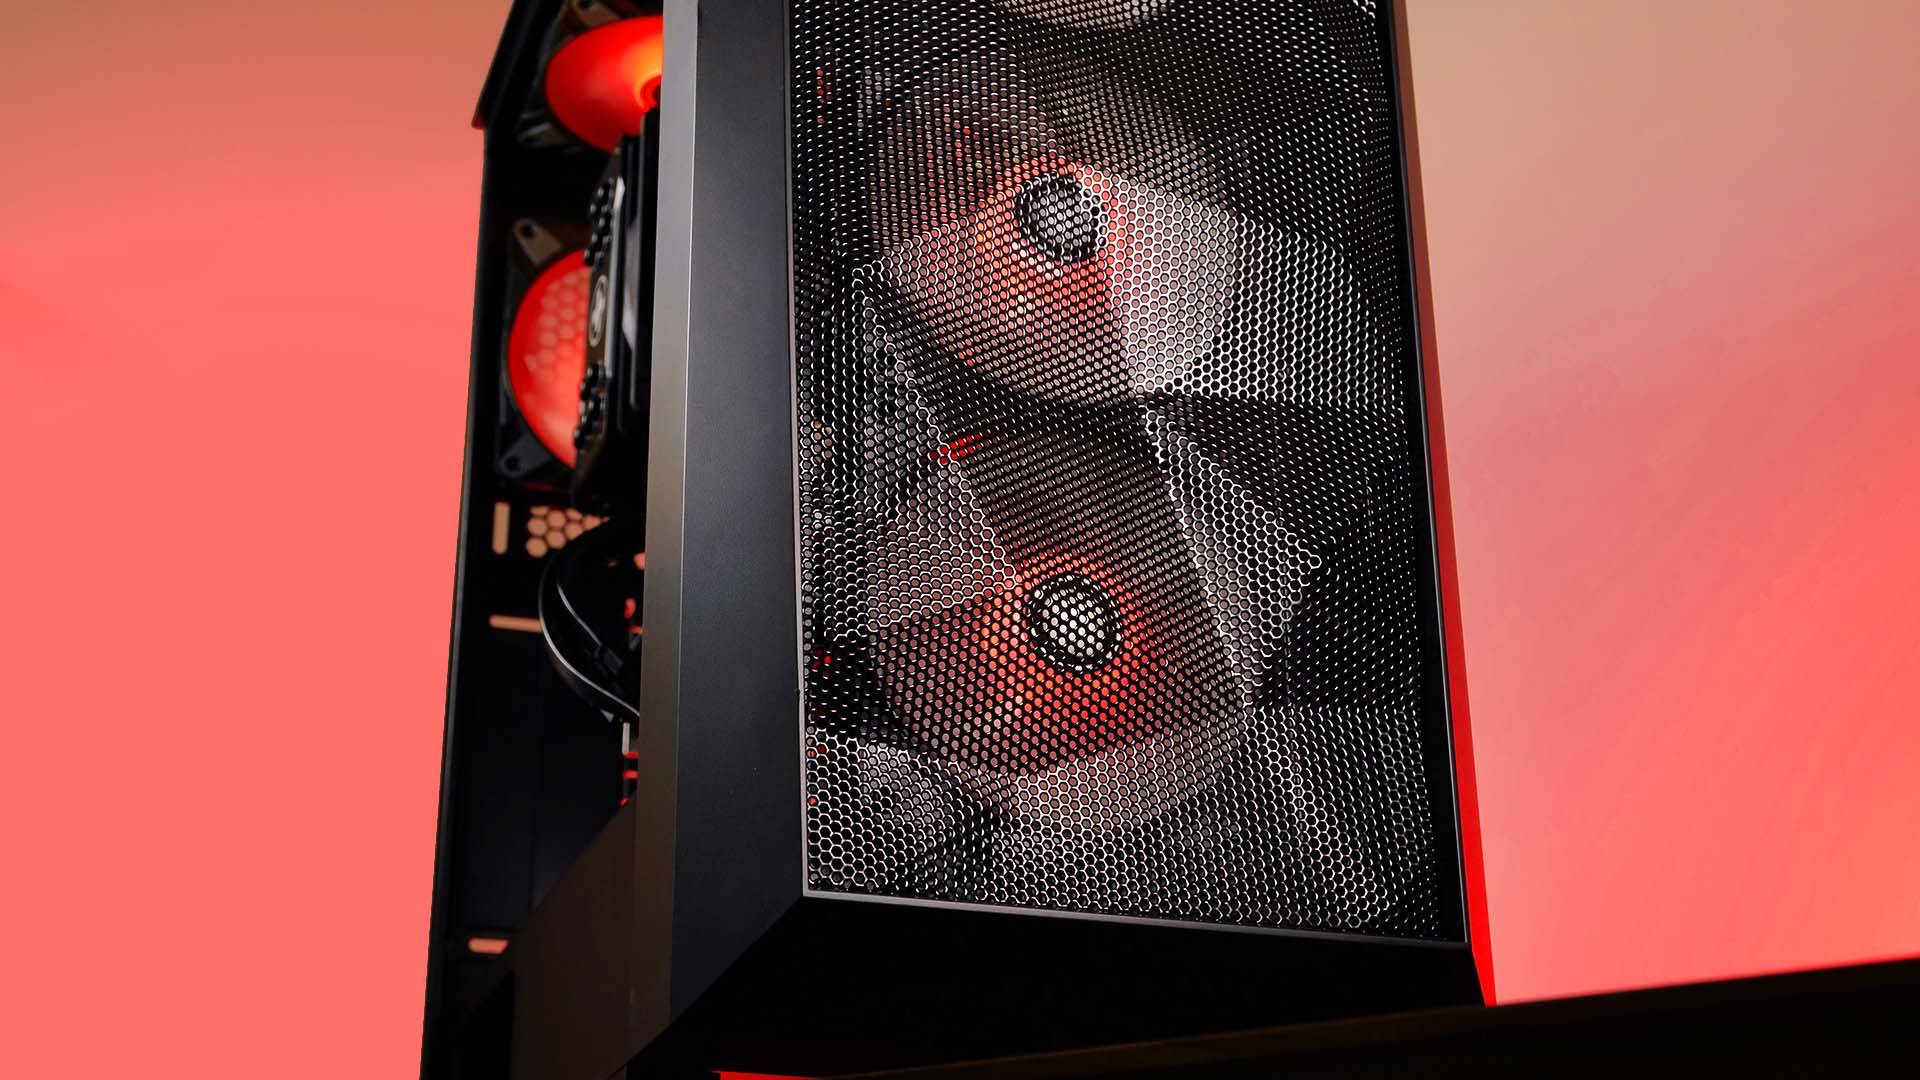
Inside the Breezer however, the front panel is built in a diamond-style structure, with everything covered by a mesh grille. The high airflow capabilities of the mesh filter allow the air to travel into the case almost freely while the top fan spots with the magnetic dust filter are able to get all of the hot air out.
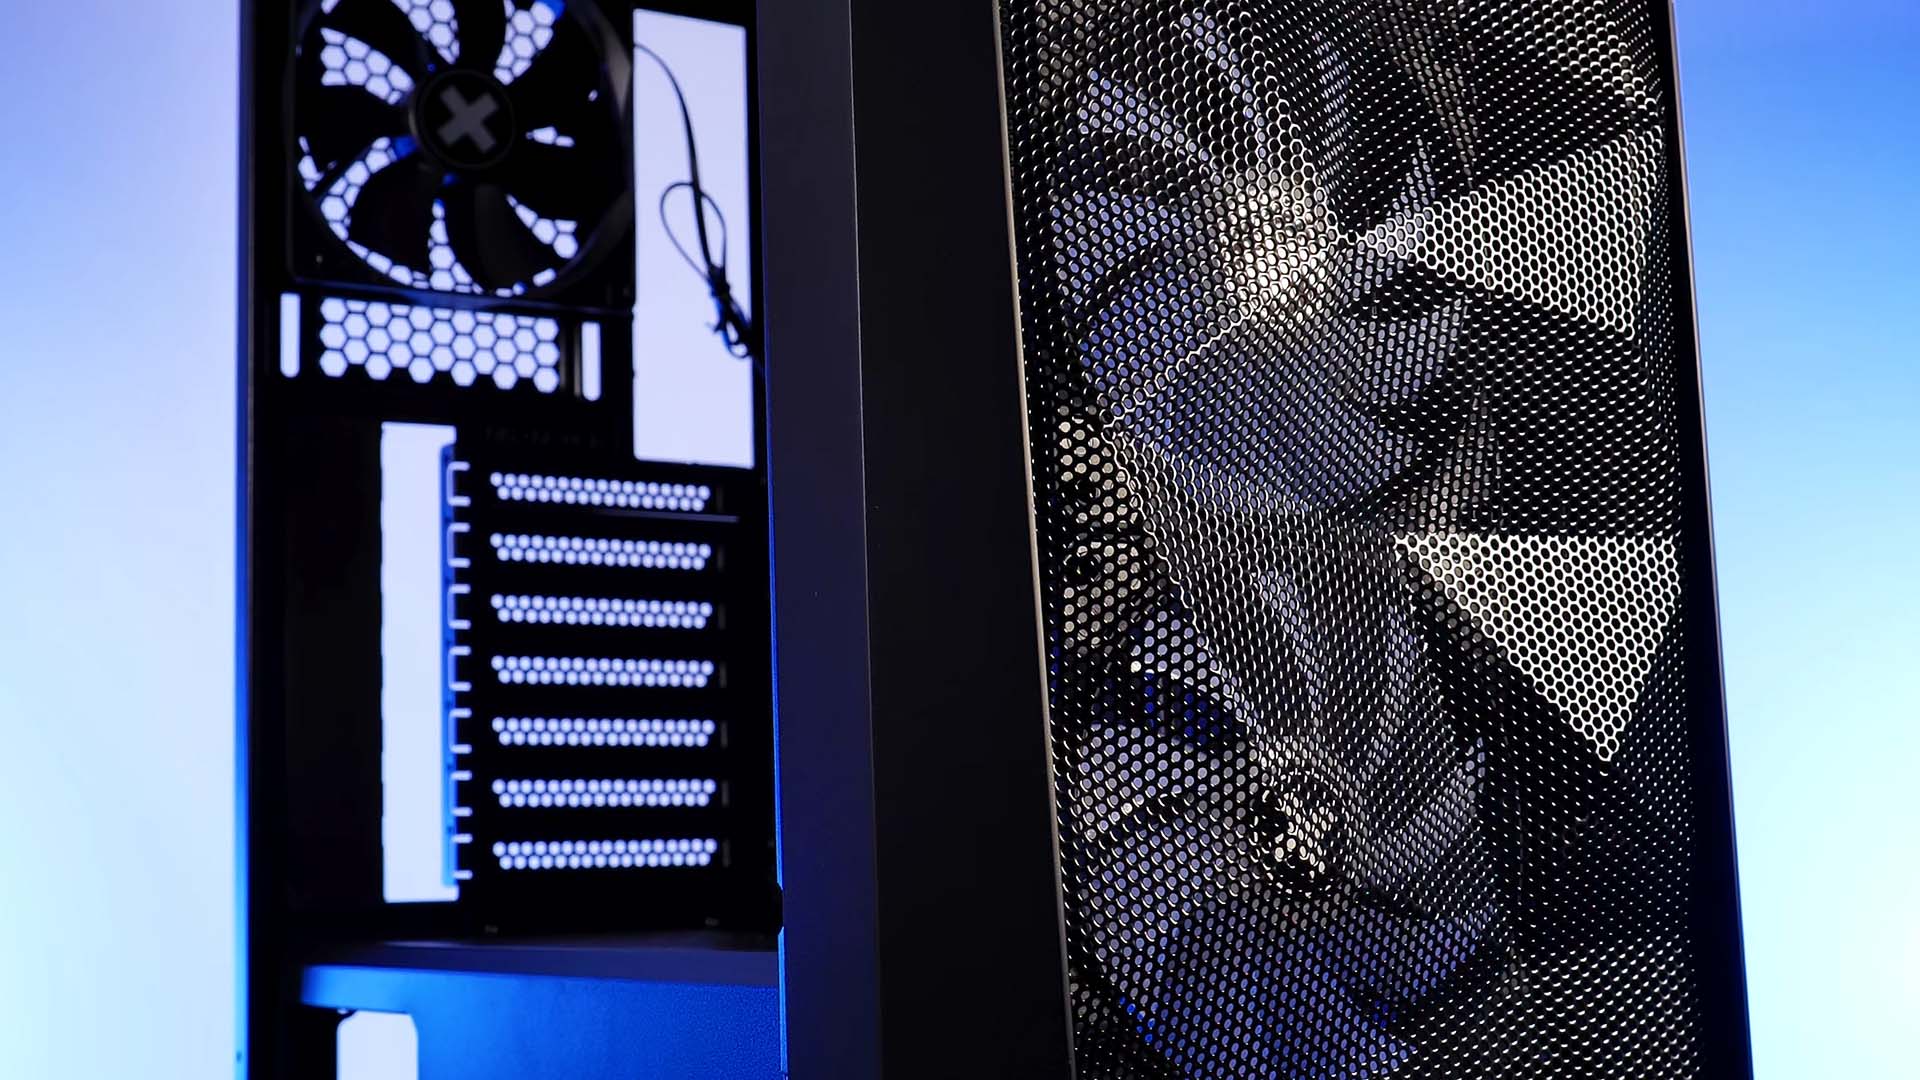
All in all, considering the price point, the Airflow capabilities, and the resulting performance of the Breeze are incredibly good compared to what other cases can bring to the table.
Design

Although the imagery on Xilence's website doesn't reflect this portion particularly well, the Breeze does in fact look pretty respectable for the price point.
The color shifts of the black front panel to the metal part of the case are not as prominent as Xilence's images may suggest.
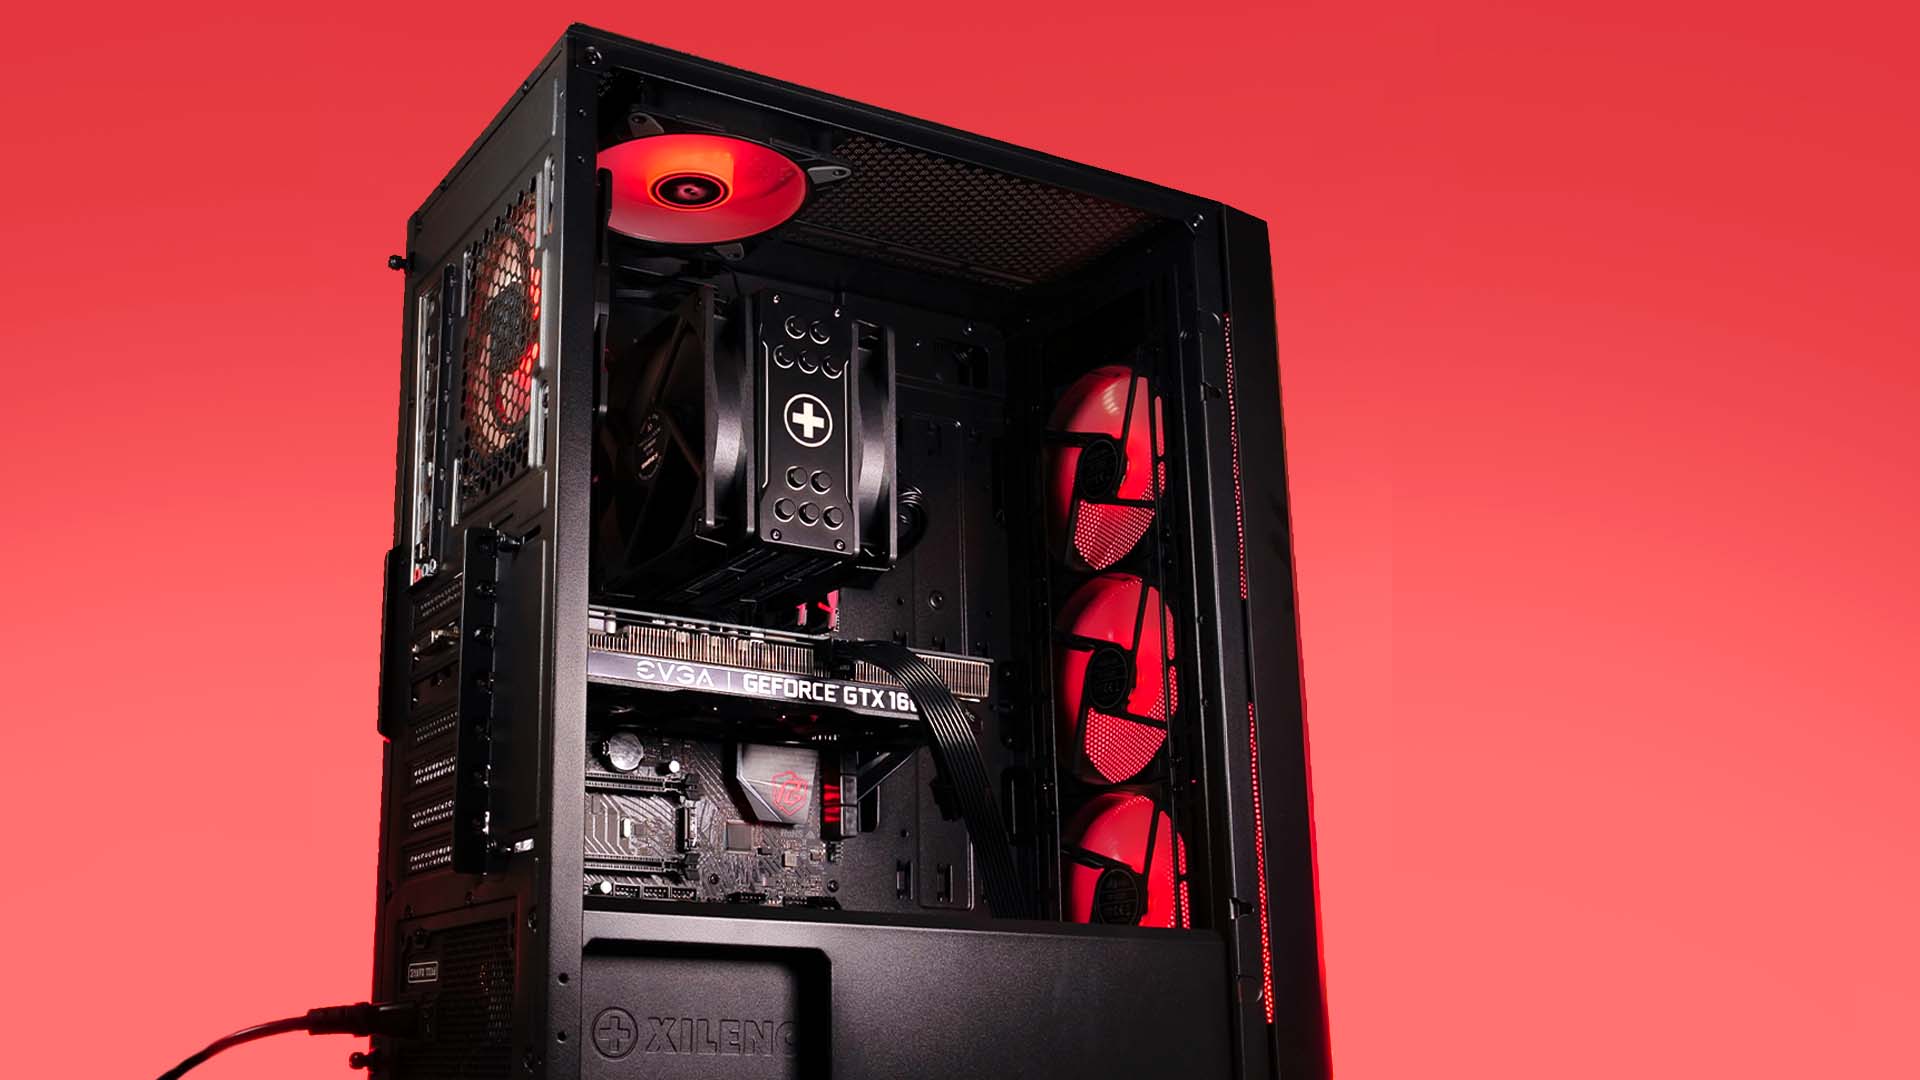
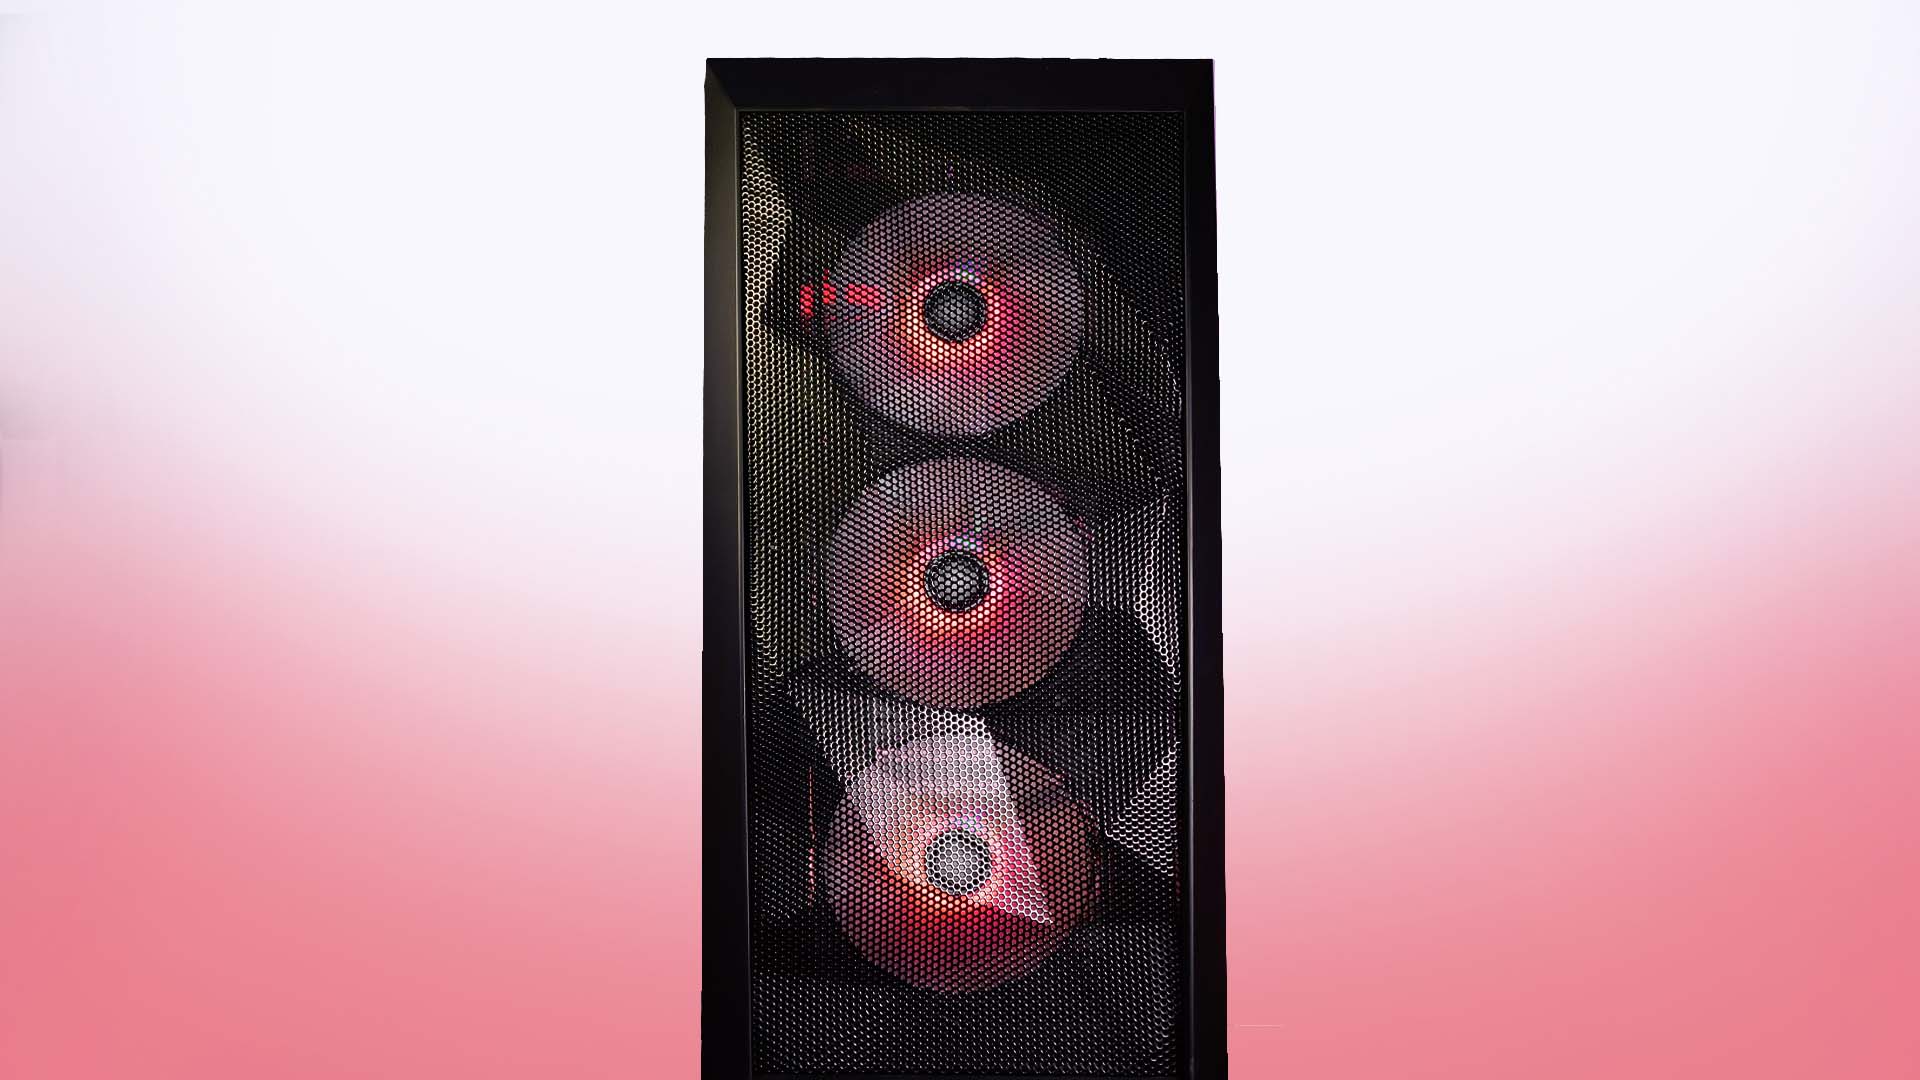
In fact, we believe the Breeze to be looking surprisingly good. The Diamond-Mesh front structure with the 3 RGB fans glowing through produces a strong and powerful look, while the tempered glass side panel allows some for sneak peeks inside the build.
Although there are no highly outstanding aspects, but that wasn't expected in this price category. All in all, a solid, but not pretentious look.
Installation
Building inside the Breeze was pretty much the usual experience for a case in this price category. We did not fall into any obstacles, nor was there any negative aspect that we could talk about.
However, there were a few positive ones. Immediately upon starting to work on it, we noticed that the build and material quality wasn't inline with other cases in it's category. The tempered glass was a lot thicker than expected, the metal was surdier, and the whole structure was surprisingly well made. We believe this to a side effect of being owned by the same company that be quiet! is owned by, but nevertheless, we were quite surprised.

Another highhly positive aspect was the additional cable hole for the GPU. This made it incredibly easy to route cable in a good looking was.
Conclusion
All in all, the Breeze was quite a surprise. It might not be a feature-stuffed case, but it was never intended to be. The main goal for the Breeze is to bring the highest bang-for-the-buck possible. And considering the price point, Xilence was able to deliver. The CPU cooler compatibility, 4x included fans, three of which are ARGB, the extreme clickiness of the case buttons, and the surprisingly high quality of material and build are definitely things to keep in mind.
While way too many cases in this price category tend to focus on a "noticeable" design, they will use things such as tempered glass side panels in the front. This may be creating a nice look in some cases, however, this is (usually) highly decremental for performance. The Breeze took a different route. Here we have a highly airflowyyy front panel which allows for the best possible performance of our CPU cooler.
Due to the high compatibility paired with the good cooling performance of the front panel, we believe the Breeze to be a perfect candidate for low-to-mid-tier builds that are looking to keep the price low. Therefore, we can highly recommend the Breeze for these scenarios.
That being said, we also hope that Xilence will silently remove the proprietary port used on the front fans at the moment, and exchange it for a regular PWM header. A change costing literally nothing, but improving the case's value greatly.


Nouvolo Steck 2 Review
Nouvolo is known to create unheard-of minimalistic, versatile, and modular cases. The Steck 2 is the next level! Lets take a
Read More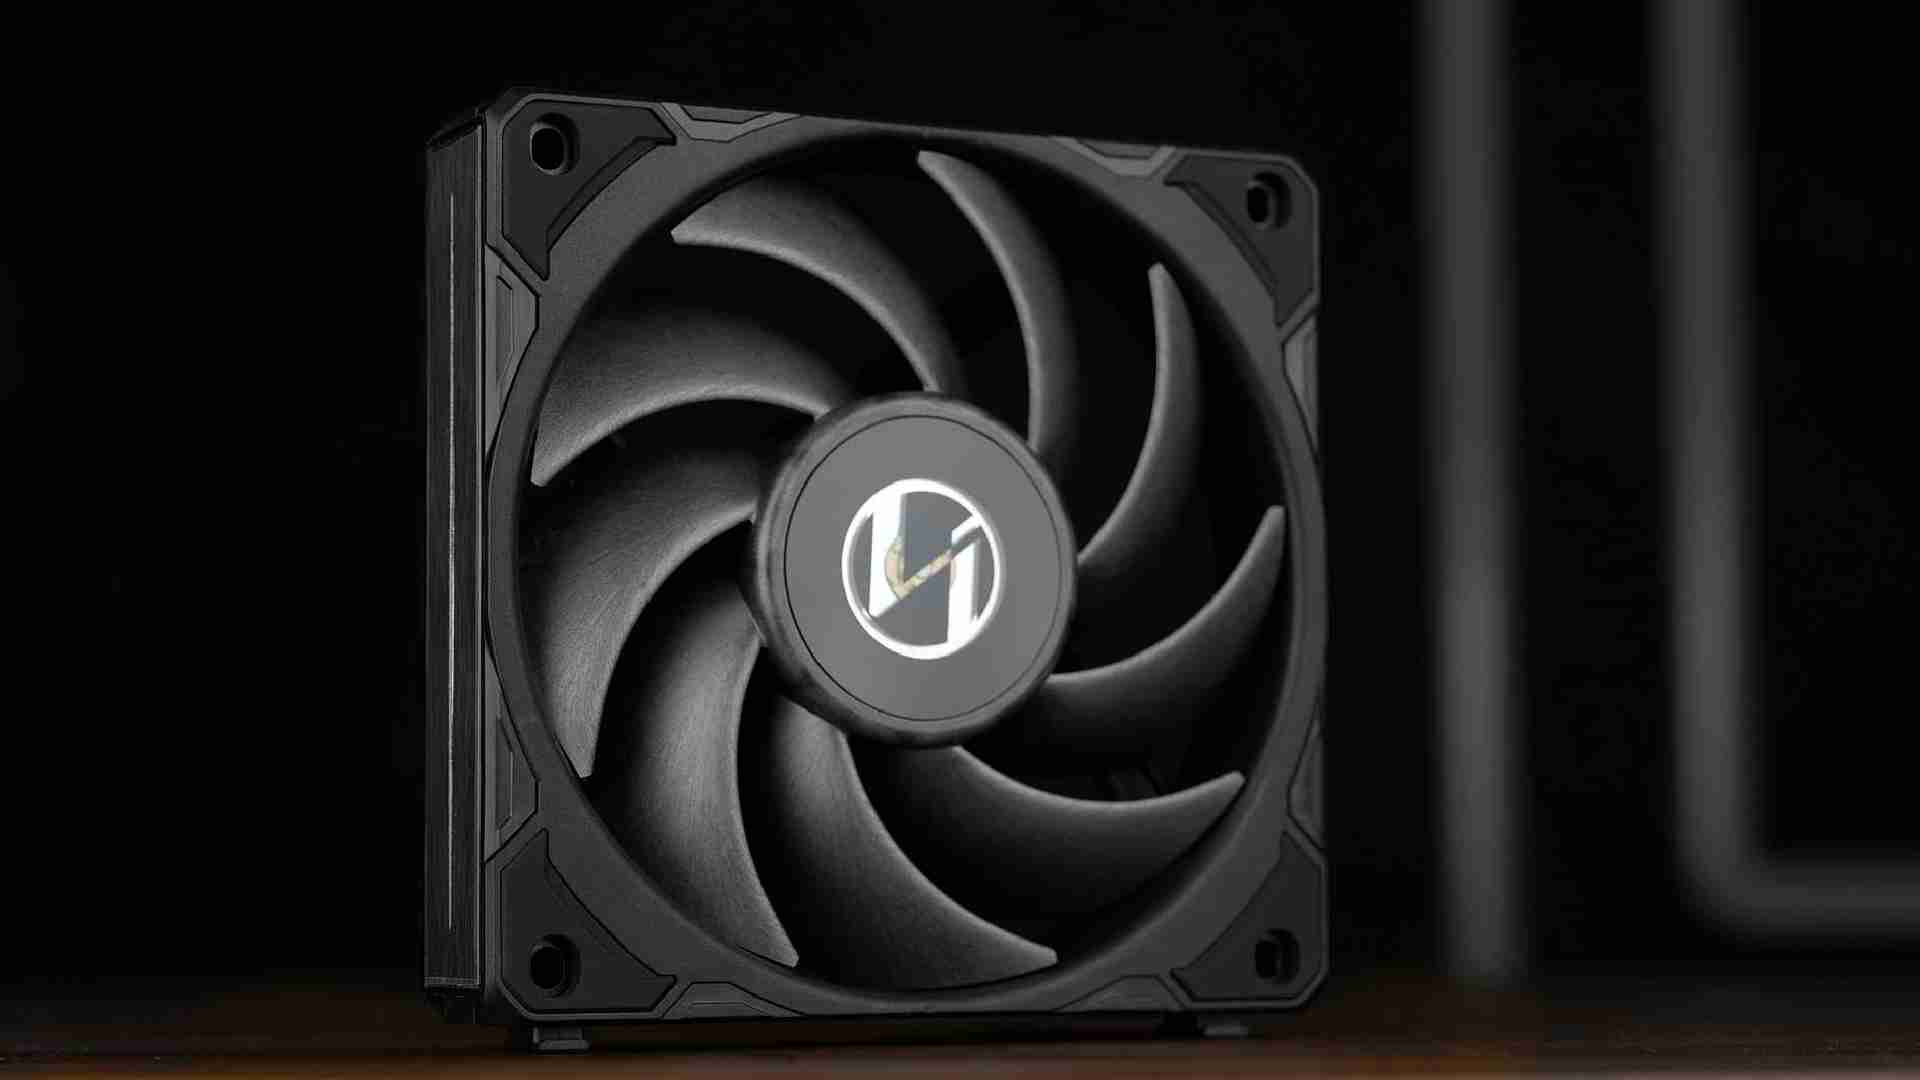
Lian Li Uni P28 Review
Lian Li Uni Fans have been known for many things. Performance being one of them. But now, with the newest Uni P28, Lian Li tr
Read More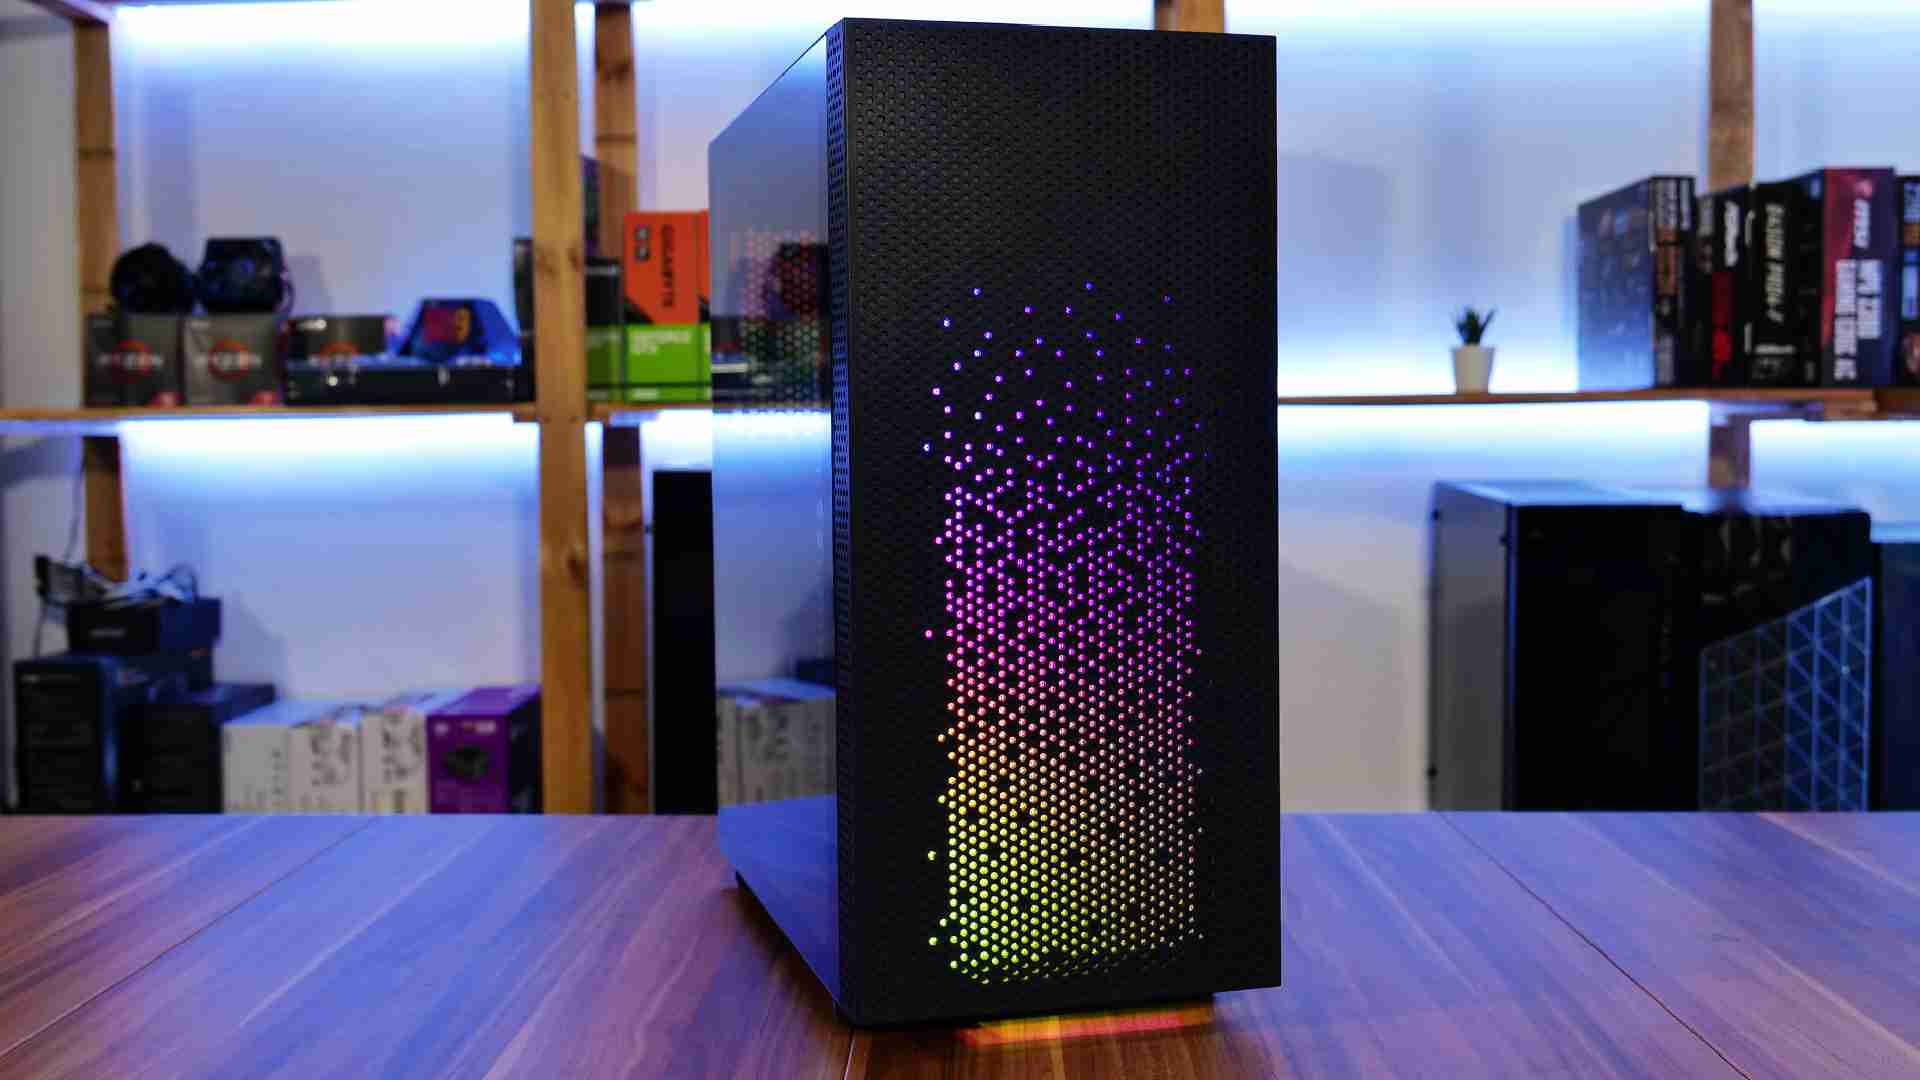
Azza Celesta 340 Review
Azza-s newest Celesta 340 Case offers a unique little RGB Feature that may be just right for you. Lets dive deeper into the c
Read More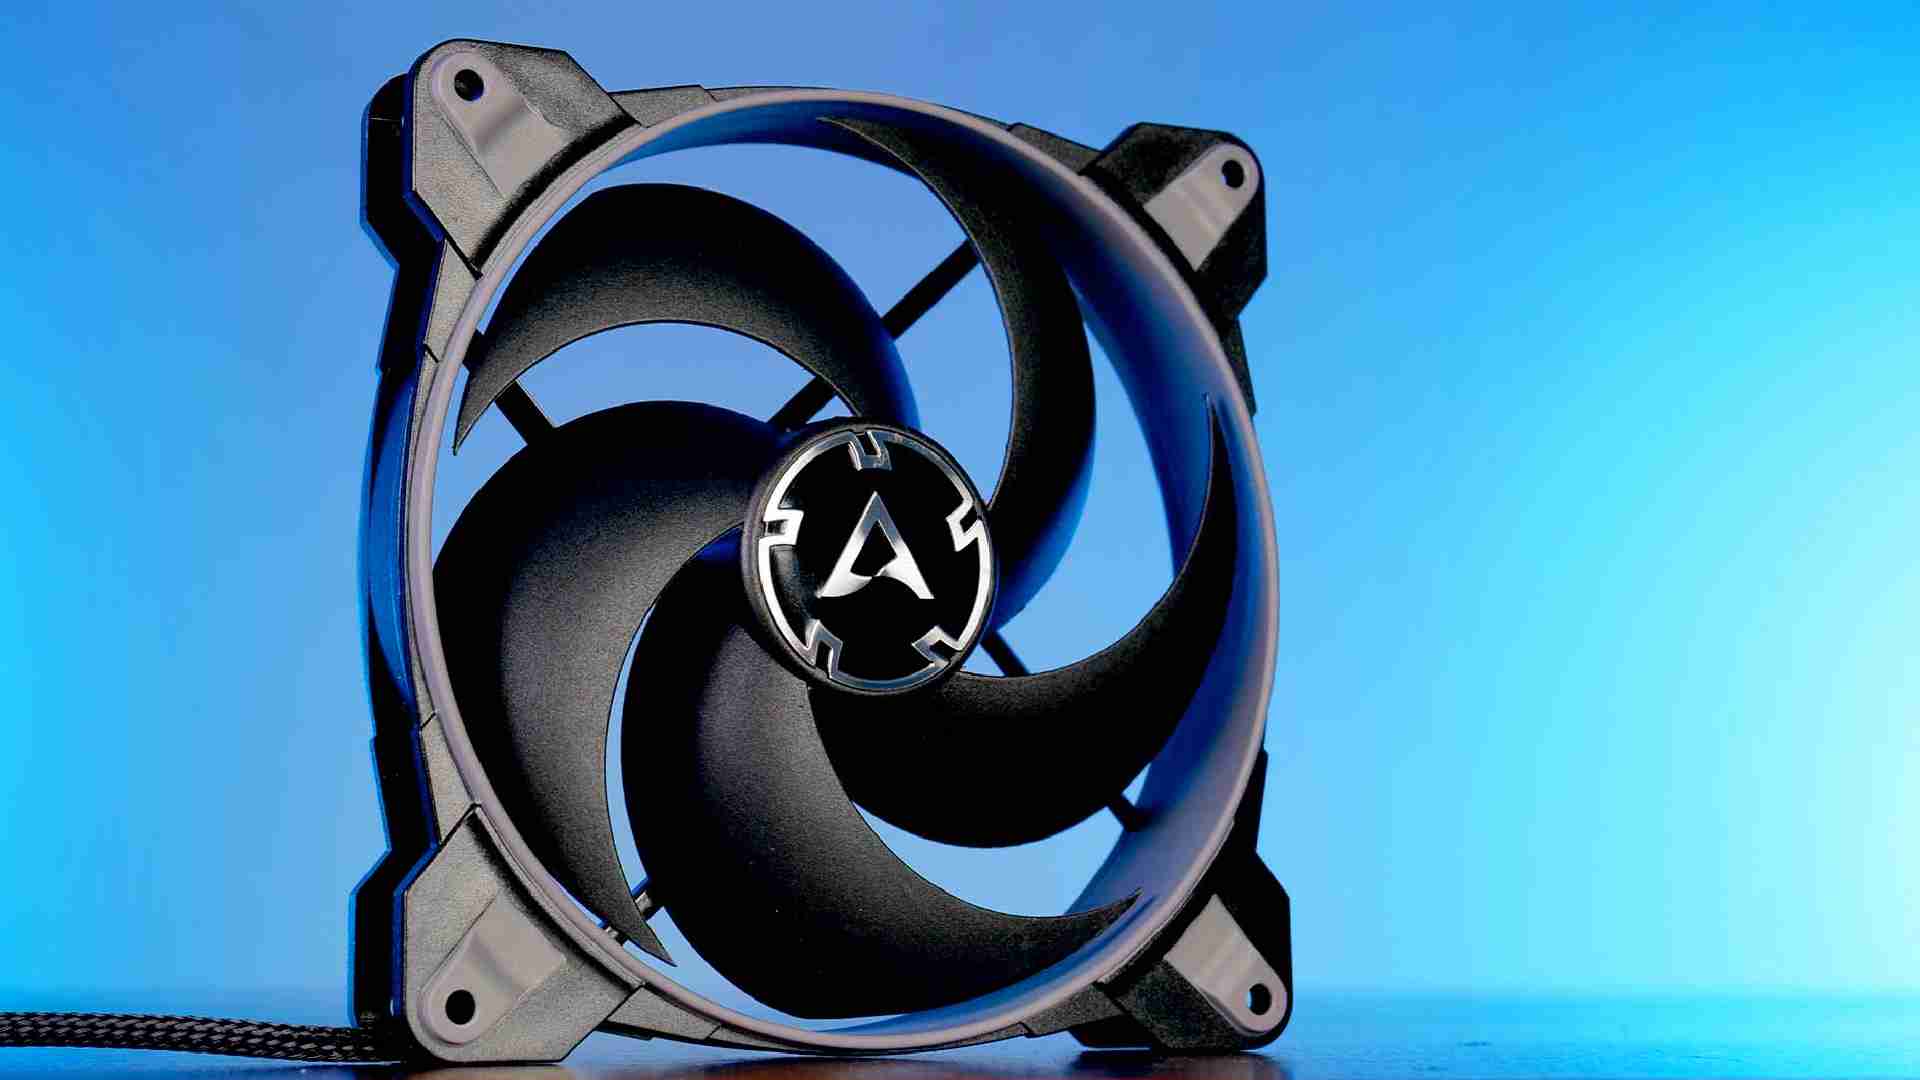
Arctic BioniX P140 Review
Arctics BioniX series already proved itself to be an overpowered version of their Normal P and F counterparts. After the 120m
Read More