Phanteks P500A Review
Introduction
About a year ago, we already had a look at Phanteks P200A. Now, let's find out if Phanteks's bigger Mid-Tower sized P500A can deliver just as many outstanding qualities as its smaller sibling!
Positive
- Price
- AIrflow
- Fan/Radiator Support
- Tempered Glass implementation
- HDD Support
- Cable Management
- Build Quality
Neutral
- RGB Implementation
Negative
- Central Mounted Fans (like P200A) could have been added
What's in the Box?

Once the case is unboxed from its carton, we will find a case hidden inside a surprising amount of styrofoam-like wraps protecting it. After untangling it from everything, we will finally have a free case.
Inside the P500A Phanteks hid another small carton Box containing a number of little extras:
- Box full of screws
- Zip Ties
- Vertical GPU Mount
- 2x HDD/SSD Brackets
Although there is a Vertical GPU mount included, you will need to purchase an additionally available Phanteks PCI Riser which ends in a 90° angle.
If present, we can mount the included plastic vertical GPU mount on top of the PSU tunnel with the PCI Riser attached to it. From there, we can make use of the 2x Vertical PCI Slots in the back of the case.
Specs

The Phanteks P500A provides a surprisingly long compatibility list and therefore spec sheet. Down below we summarized the most important point which will be detailed later on.
| Name | Phanteks P500A |
| Type | Mid-Tower |
| Mainboard Sizes | ATX / mATX / miniITX |
| Color | Black |
| Side Panel | Tempered Glass |
| CPU Cooler Height | Up to 190mm |
| GPU Length | Up to 435mm |
| 2.5" Drives | 3x ( Expandable to 12x ) |
| 3.5" Drives | 2x ( Expandable to 10x ) |
| IO |
1x USB-C Gen 2 2x USB 3.0 Audio IN/OUT Power Button RGB Color Button RGB Mode Button |
| Dimensions | 250x510x505mm |
| RGB |
Top of Front Panel 3x Front Fan |
| Fans | 3x 140mm RGB Fans Pre-installed in the front |
| Fan Spots |
3x 140/120mm in the Front 3x 120 / 2x 140mm in the Top 1x 140/120mm in the Back |
| Water Cooling |
Up to 420/360mm in the Front Up to 360/280mm in the Top 120/140mm in the Back |
| Extra | Included RGB controller Build into Front Panel |
Compatibility

When it comes to compatibility, the P500A offers more than we could imagine at this moment.
With up to 190mm high CPU coolers and 435mm long GPUs, there is absolutely no hardware combination that we could think of which wouldn't fit into this impressive case.

But instead of letting this sit like that, Phanteks decided to go one step further.
Included in the little carton box inside the Case, Phanteks included 2x HDD covers.
These covers can be installed inside the PSU tunnel in the very front of the case.
There are 2 available positions by default, one at the very front, and one just behind it.
Even though the second position limits the max PSU length to about 195mm, this will still allow for close to every PSU on the market right now.

But to make things a little bit incredible, we can remove the plastic cable management covers which double as HDD bracket hiders. Behind them, we will find mounting holes to add another 6x HDD brackets vertically behind the front fans. Counting all of these brackets together, we could potentially add up to 10x HDD inside a single system, which even for its form factor is incredible. Just keep in mind that the Case comes with 2x HDD brackets out-of-the-box, any additional ones have to be purchased separately.

IO
The IO is one thing that Phanteks just seems to always keep updated.
With 2x USB 3.0 Type-A and 1x USB Type-C in its 10GBit variant, there is absolutely nothing to nag from our side.

Additionally, the IO panel comes with an integrated ARGB Controller which allows the included Fans to glow in their natural unicorn-themed colors.
On the IO Panel, there are 2 buttons meant to control the ... Controller.
The left one controls the Modes whereas the right one controls the color. Additionally, Long-pressing the left one shuts everything off, while long-pressing the right one allows the controller to go back into its unicorn state.
Cable Management

In contrast to the P200A, the Cable Management inside the P500A is much more advanced.
A Bunch of cable straps, a hidden PSU inside its own compartment, and many more cable cutouts are one reason, but the main reason will be the size of the case which allows there to be much more space behind the mainboard. Even if the difference between a case with a lot of space and not enough space might just be a cm or two, you can immediately feel the difference while building.

A unique feature inside the P500A is the Phanteks Plastic cable covers on the right side of the Motherboard. These little covers can be moved to the left and right allowing for more or fewer cables to be passed through them. The great thing about these is that they can be opened completely, and once the Cable management is finished, they can be closed up to the bare minimum, hiding as much of the cable as possible, creating a highly clean look.
Cooling

When there's one thing that Phanteks did right with their P500A, or generally "P" lineup, it's cooling.
The highly airflow-focused front panel allows for a ton of airflow while the top fan spots combined with a high-quality dust filter allow getting the hot air out.

But particularly the P500A can score many points due to its huge Fan support.
3x 140mm Fans in the Front, 2x140/3x120mm Fans in the Front are already pretty impressive, but the most impressive spot would be the up to 140mm Fan spot in the back.
Although 140mm Fans might not be the standard that everybody is shopping for, generally, using 140mm instead of 120mm Fans will allow to either get more air through the case or let them spin slower so that the whole system becomes quieter.
As we have stated in many reviews before, we are huge fans of 140mm Fans, and we appreciate the inclusion of so many 140mm Fans inside the P500A.
Design

On the Design side, the P500A is basically a P200A in big.
A huge Airflow focused front panel paired with a nicely looking tempered glass side panel.
All of this combined with the RGB effects created by the pre-installed front fans create a very strong seeming case capable of housing an impressive build.

Overall, due to the transparency created by the front panel, the P500A can be used in two separate ways. You could go with a more moderate and clean-looking design by not making adding any more RGB-filled components, or you could go full RGB and fill the P500A with as much RGB as it can hold.
Naturally, both cases have a unique taste to them with completely different audiences, so this will be up to you.
Installation
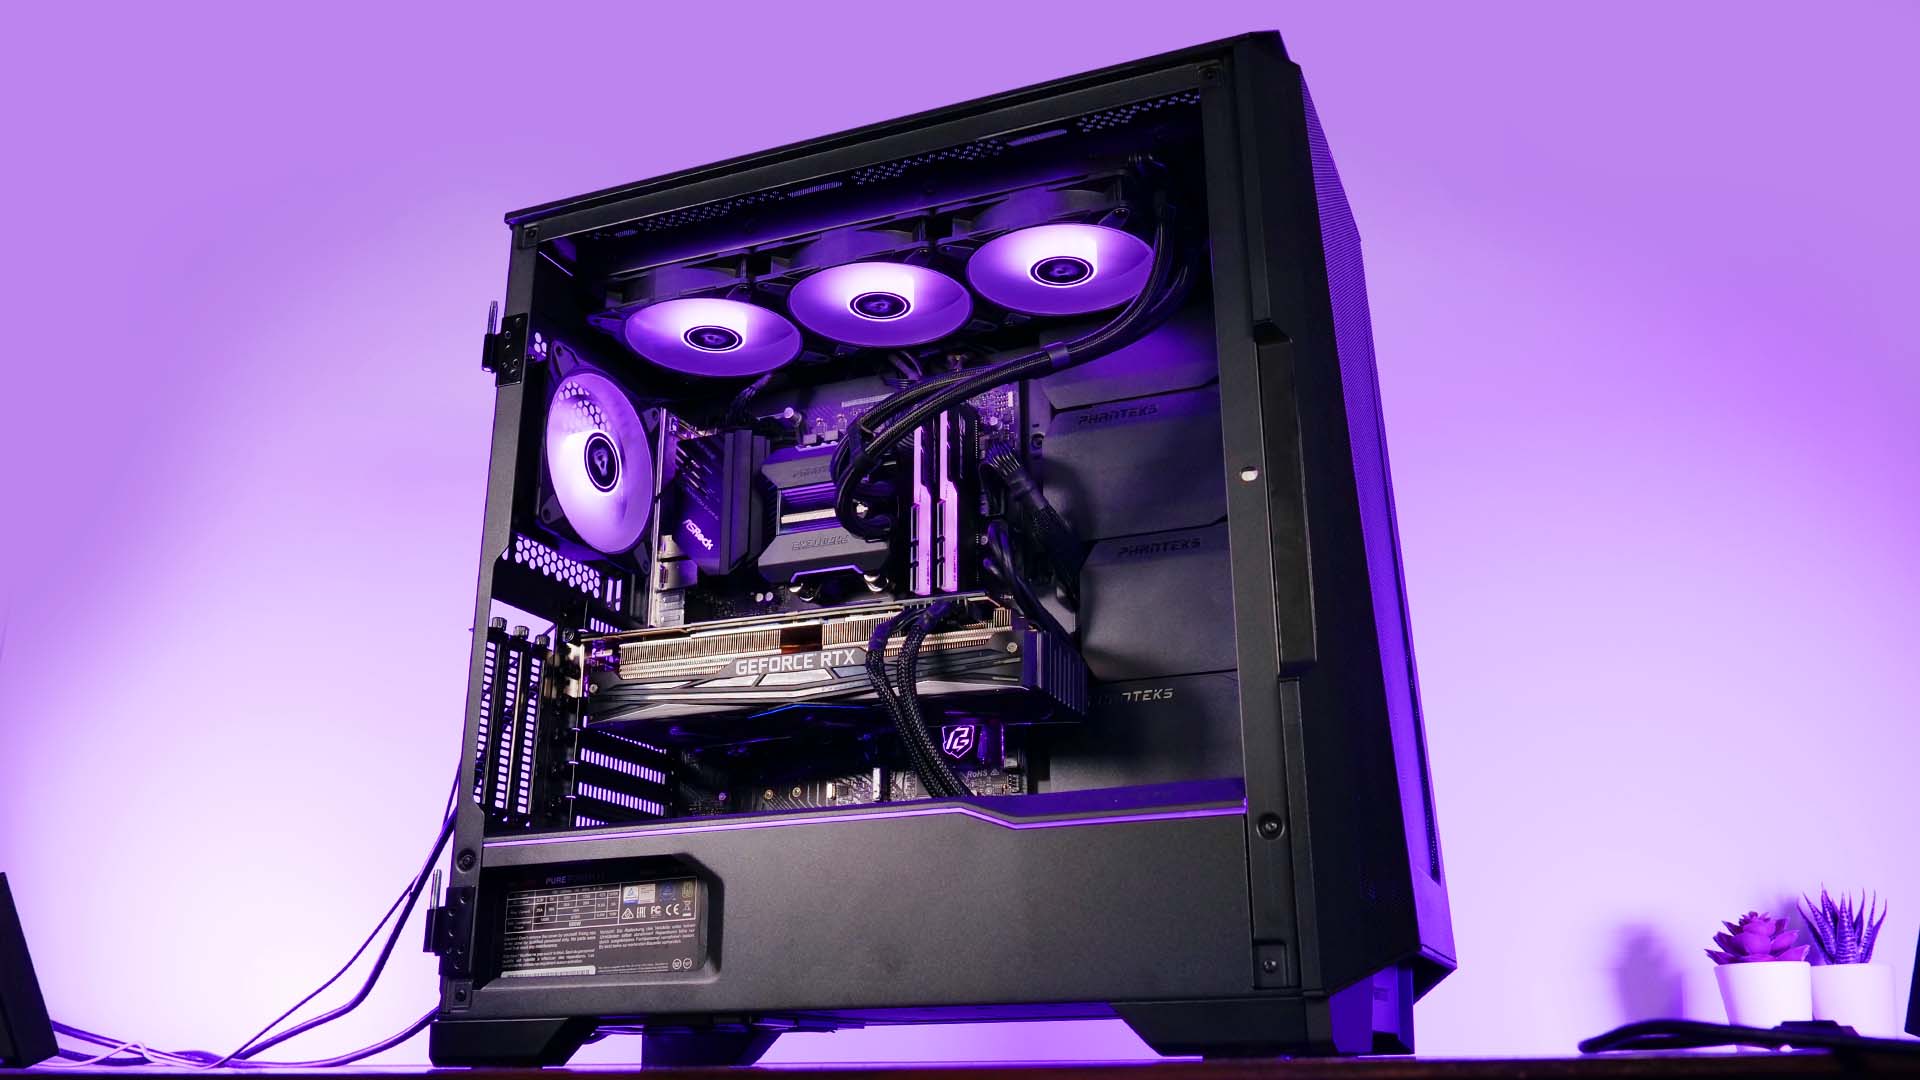
Compared to building inside the P200A, the P500A has much more to offer. Not that the P200A was a bad case, but the sheer amount of space inside the case and behind the mainboard is big enough to make cable management an easy task.

For the most part, building inside the P500A is pretty much standard. The only thing slightly off course would be the PSU. Just like most other Phanteks Cases, the PSU is not directly mounted to the case, but it has to be mounted to a small metal frame which is then shoved back into the case, including the PSU.
RGB ports. These two can be used to expand the existing RGB coming from the RGB controller and going to the fans.
But once that step is complete, everything else becomes as easy as it gets.
In the front of the case, behind the front panel, we will also find one of Phanteks Proprietary and standard 3-Pin A
In the back of the case, we will also find a surprisingly big amount of cable straps that can help us guide and hide the remaining cables.

Conclusion

Looking at all of the P500A's features, the complete compatibility list, and the ridiculous amount of 10HDD's, it has to be one of the most versatile cases we have ever seen.
This can only be improved by the excellent airflow that the front panel provides paired with 140mm Fan support in the back.
Then comes the easiness to build in it. By making good use of the cable management space behind the case, inform all of these pre-installed cable straps and spaces, it becomes incredibly easy to build in it.
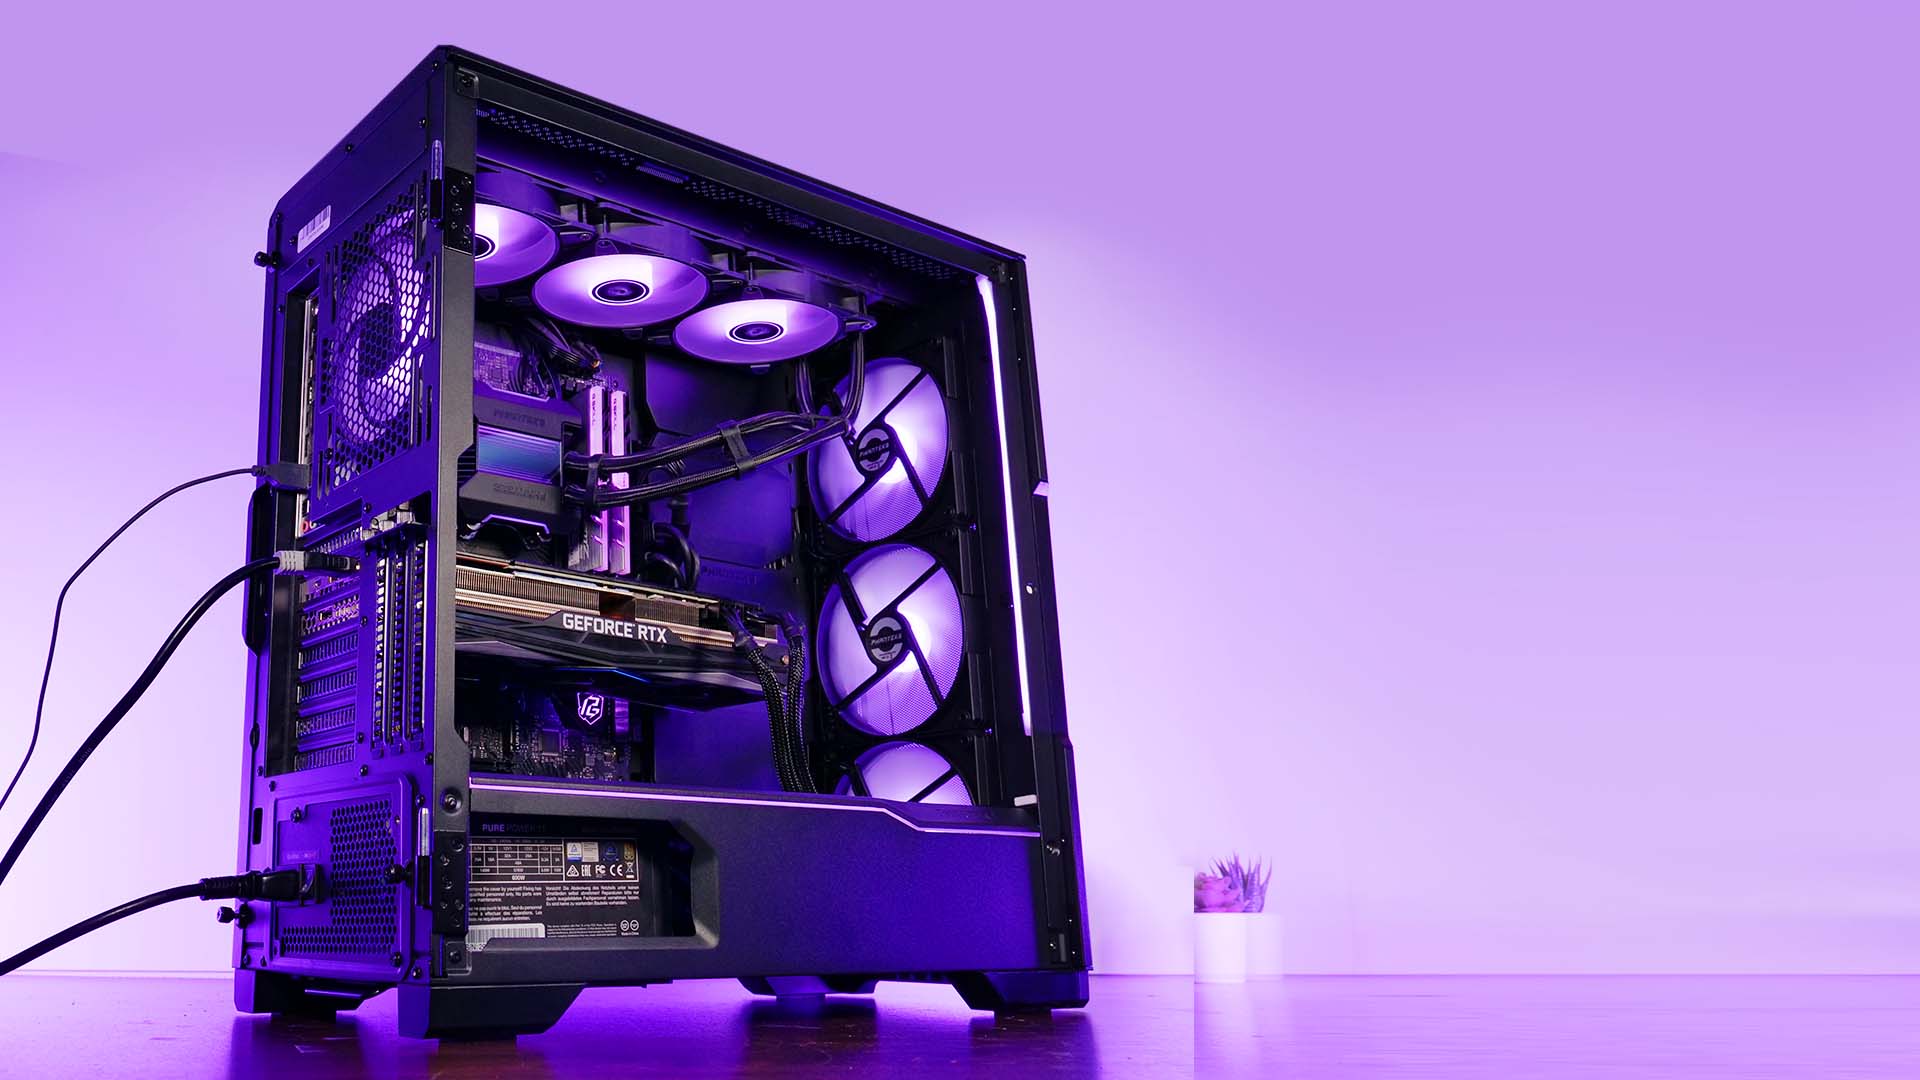
All of these positive aspects make the P500A a truly amazing case which surprisingly enough still looks incredibly good and is very well produced.
A small, yet powerful feature for our use case was the magnetically attached side panel that can be opened tool-less by simply pulling it. Something that may not be of the best usage for everybody, but if you quickly need to add/change something inside your system, this will become your best friend.

But everything needs to have a downside. Unfortunately, we found our copy P500A to have a few Quality Control issues. Although the case itself is built very rigid and could withstand quite a few drops and kicks, we had a crooked USB port followed by wobbly feet. Something that could and should be avoided in the future.
But except for that, the case as a whole was nothing but a positive experience and it has become one of our favorite cases until today.
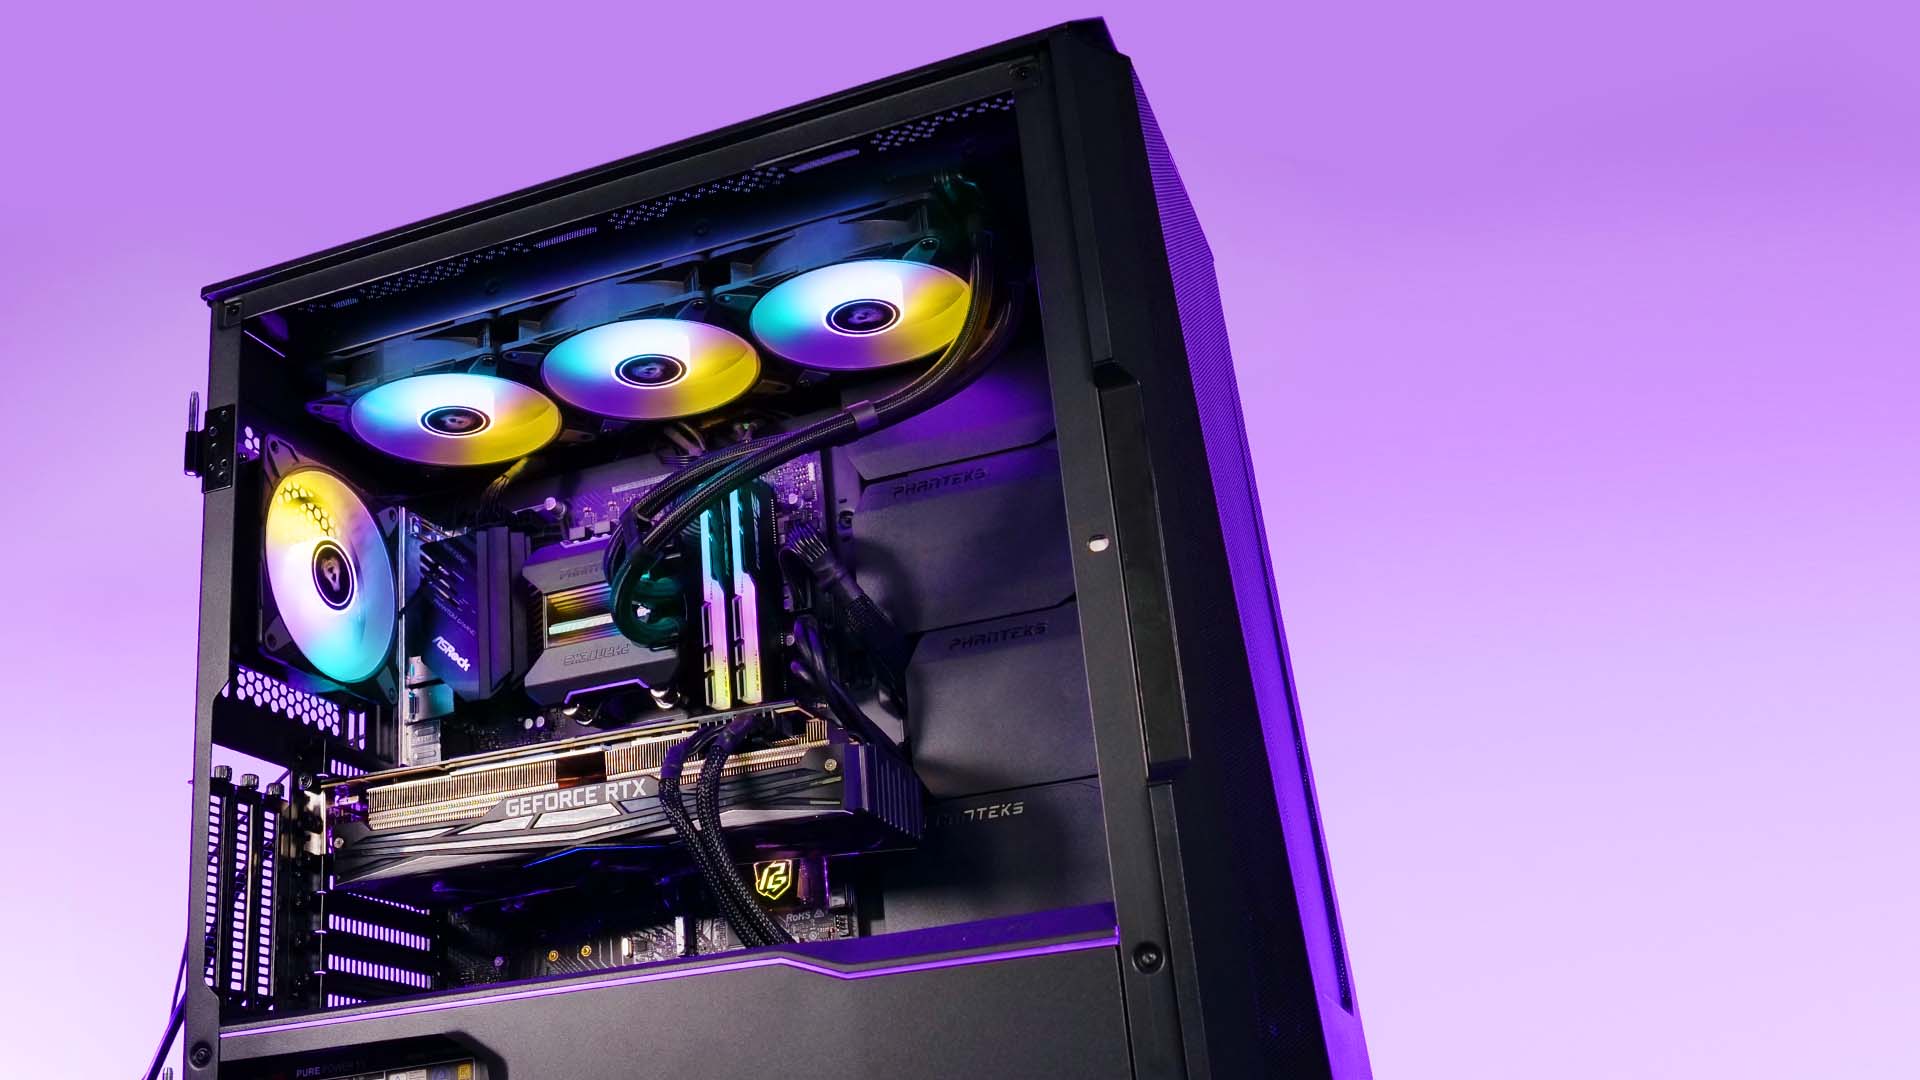
If it wasn't apparent until now, we are huge fans of the case, and can only recommend it.

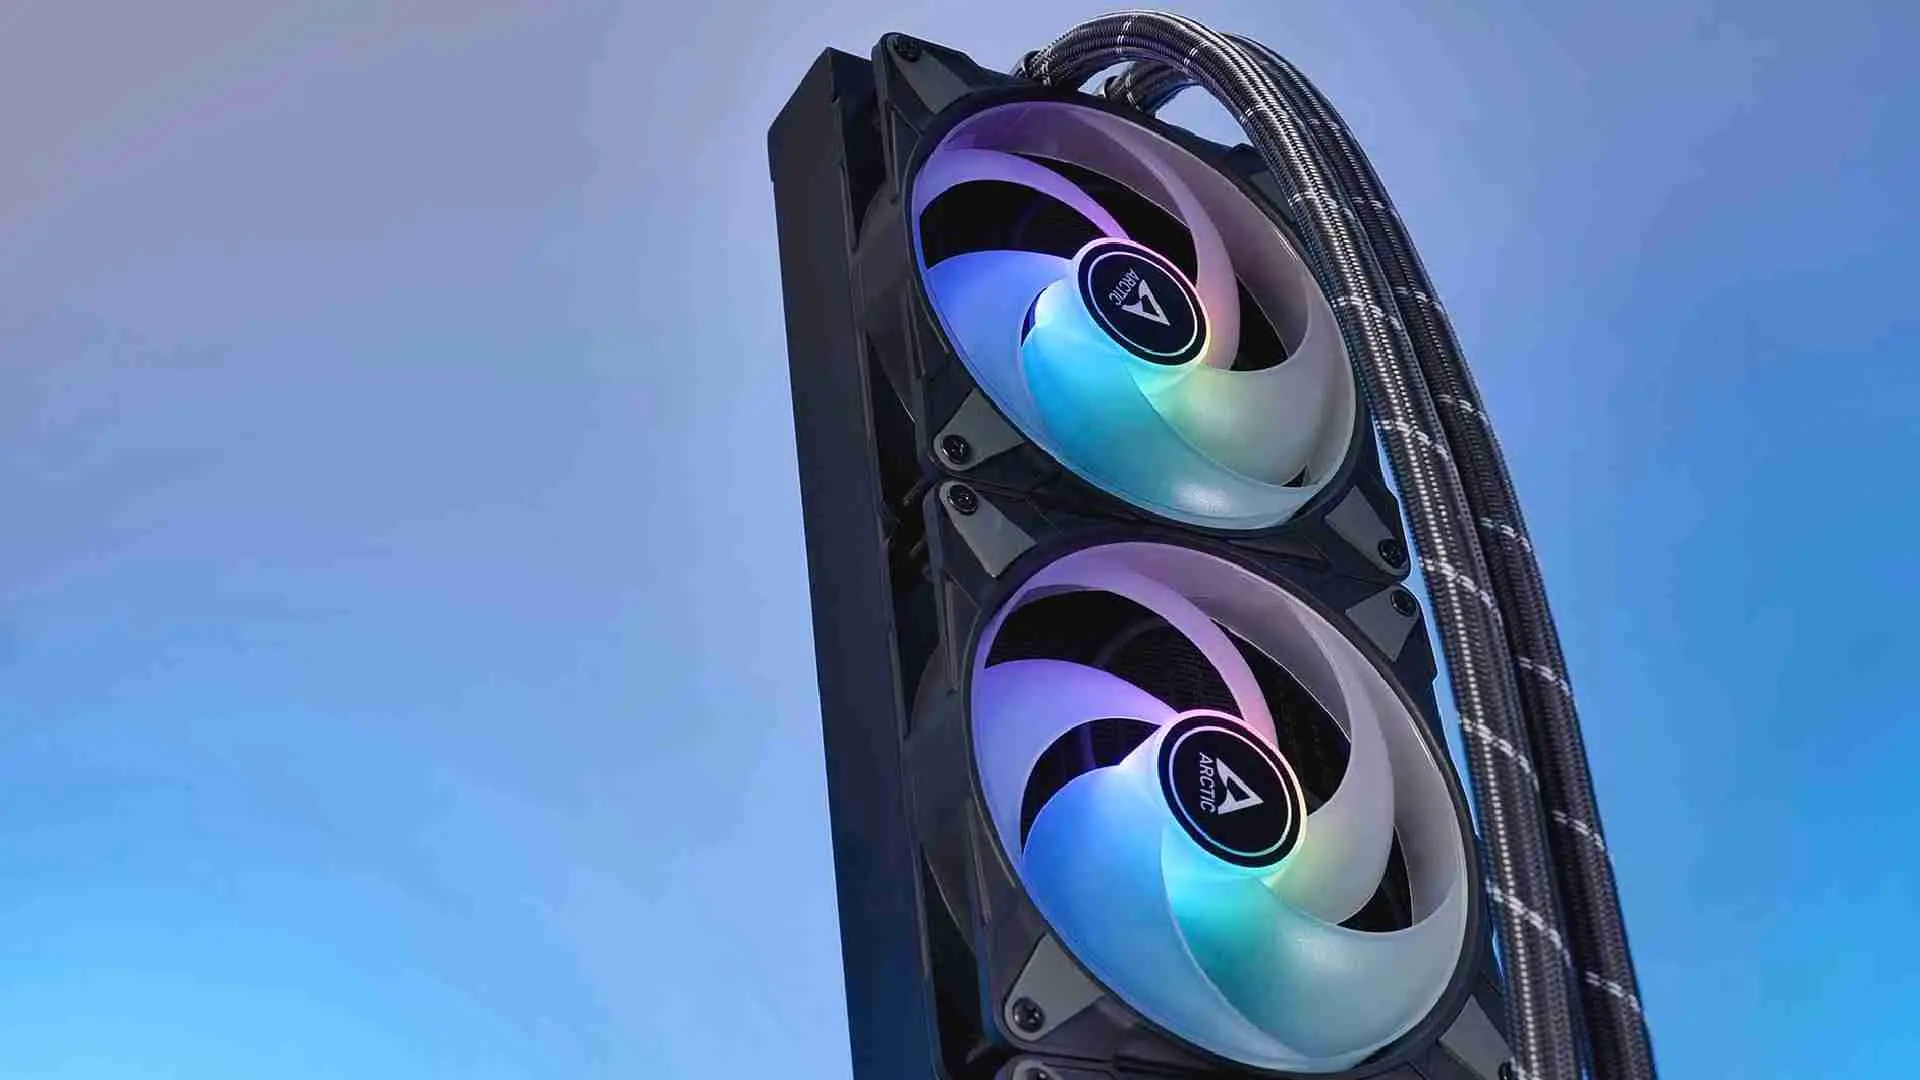
Arctic Liquid Freezer II 420 / ARGB Review
Arctics Liquid Freezer II Lineup is known to be one of the best on the market. Each time we review one of them it pushes the
Read More
Noctua NH-C14S Review
With the C14S, Noctua tried to push the boundaries of what a C-Style CPU Air Cooler could do. Paired with one of their well-e
Read More
Alphacool Core 120 2500RPM Review
Alphacools new Core series aims to disrupt the budget-oriented market. Equipped with nothing but performance, high speed, and
Read More
Xilence M704Pro ARGB Review
Lets have a look at the Xilence M704Pro.ARGB, the little 4-Heatpipe version of the overwhelming M705D. With an ARGB top plate
Read More